Jonathon in New Zealand operates a tank driving business. Yes, you really
can buy yourself a drive of a main battle tank in the southern hemisphere!
In this article he describes what is involved in doing one aspect of
regular tank maintenance.
======
Centurion tank maintenance – drive sprocket reversal.
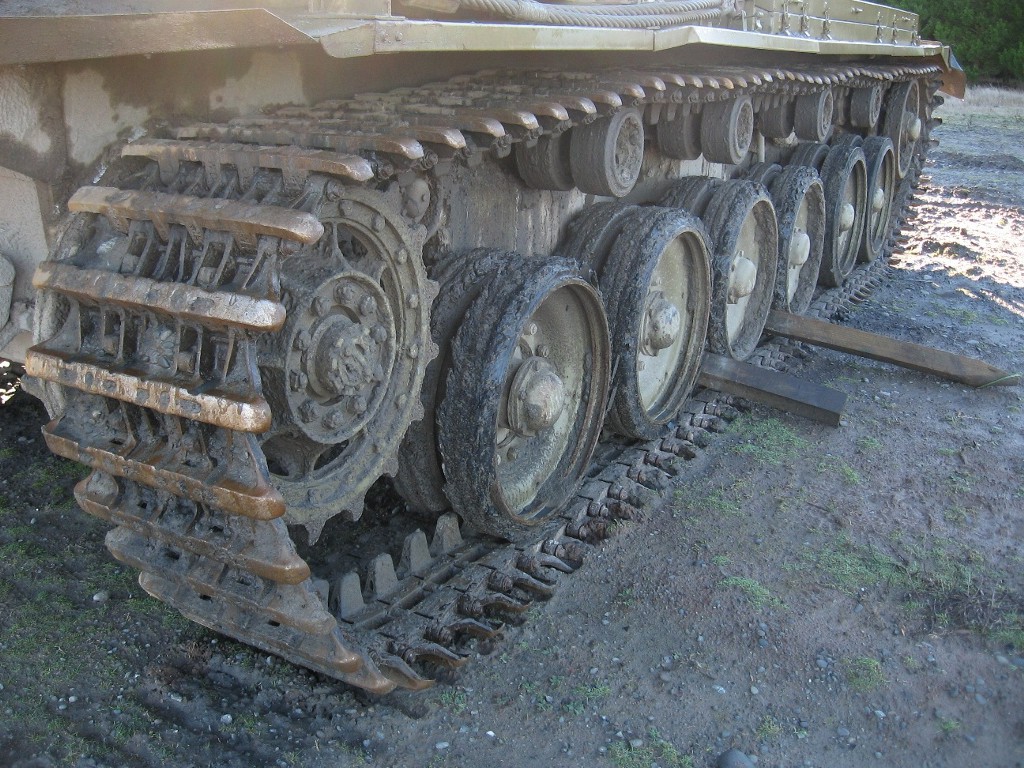
The time had come to turn around the drive sprockets on my Centurion tank.
About 700 miles use has resulted in the teeth getting pretty worn – this
can result in the tracks getting ‘hooked’ by the now curved teeth – so
the simplest solution seemed to be to take the sprocket off each side and
swap them over – resulting in the unworn sides of the teeth providing the drive.
Here’s a quick photo dairy of a day’s work on a main battle tank.
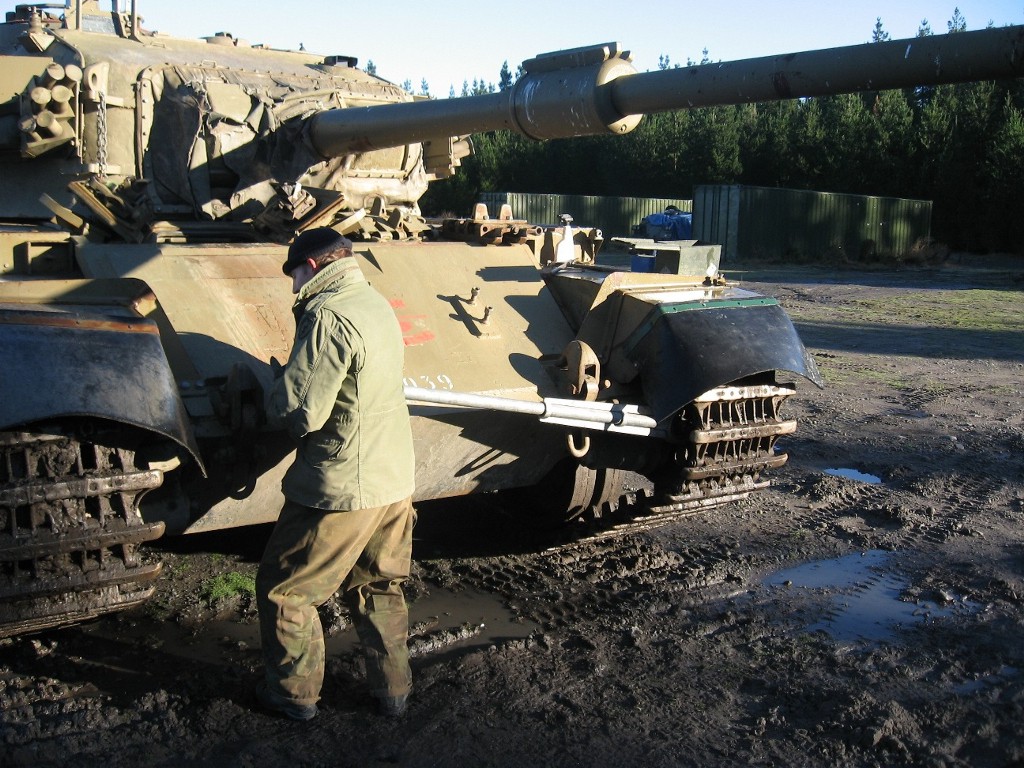
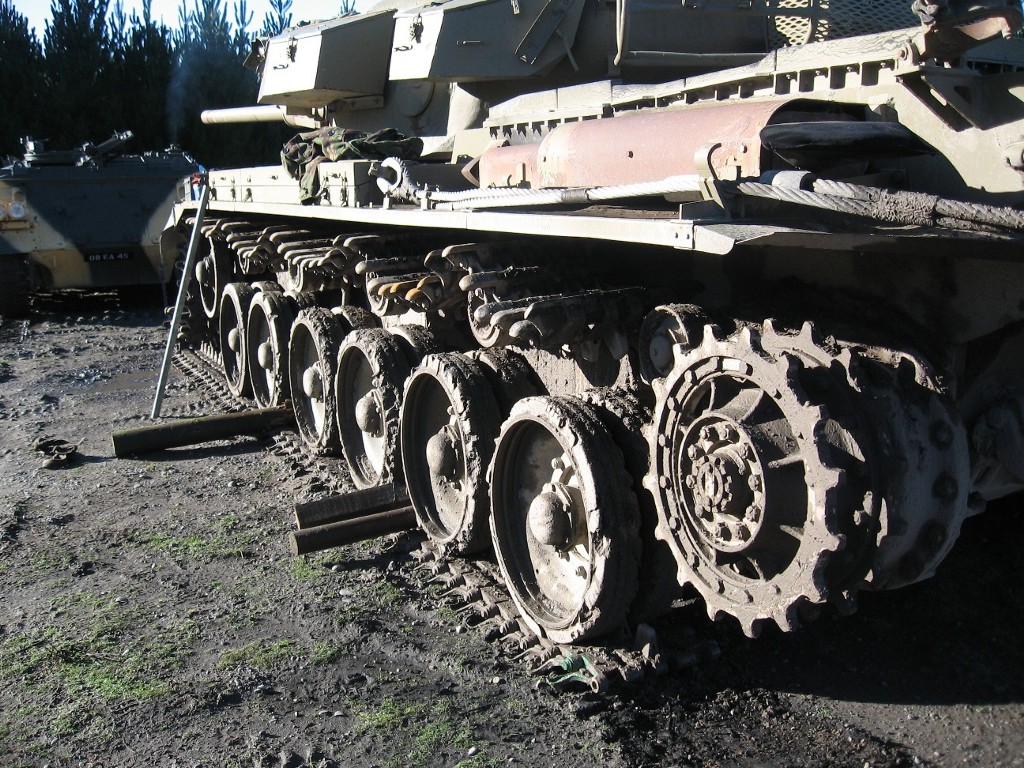
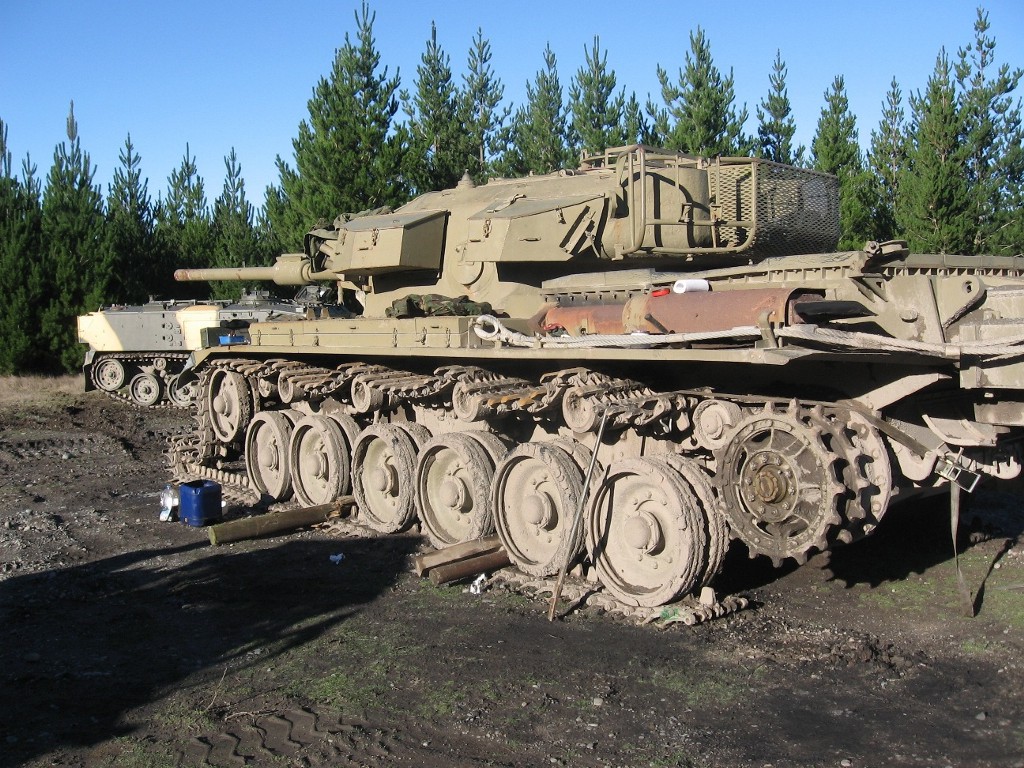
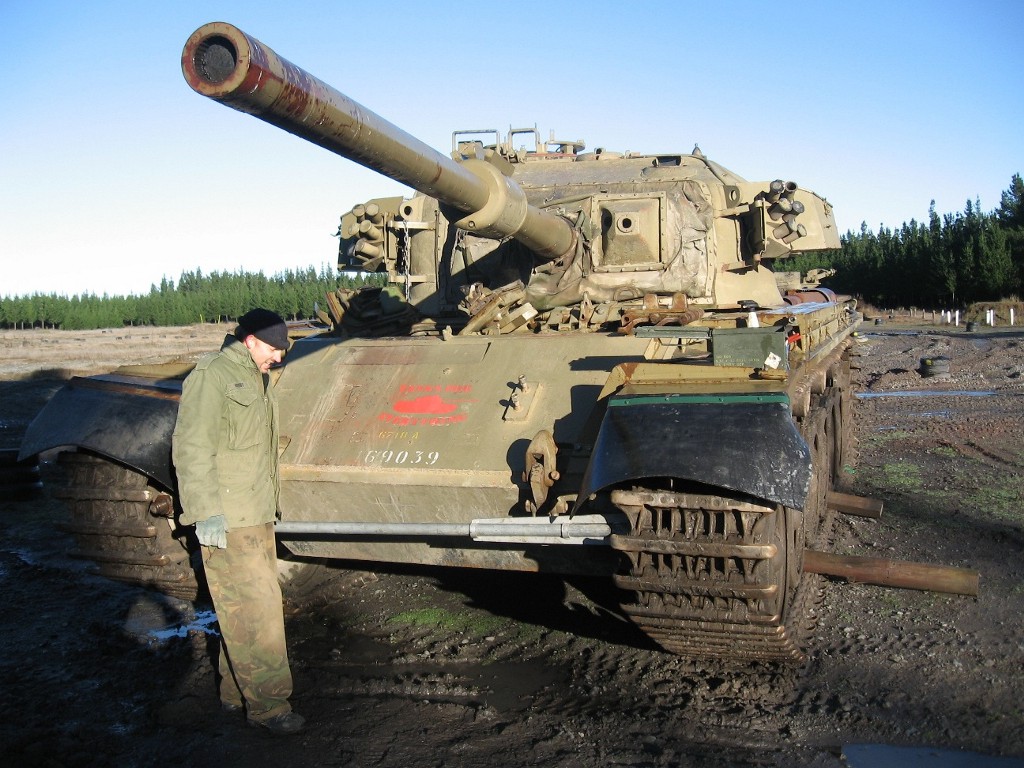
First park your tank on level ground and chock the tracks – fence posts are doing
the job here.
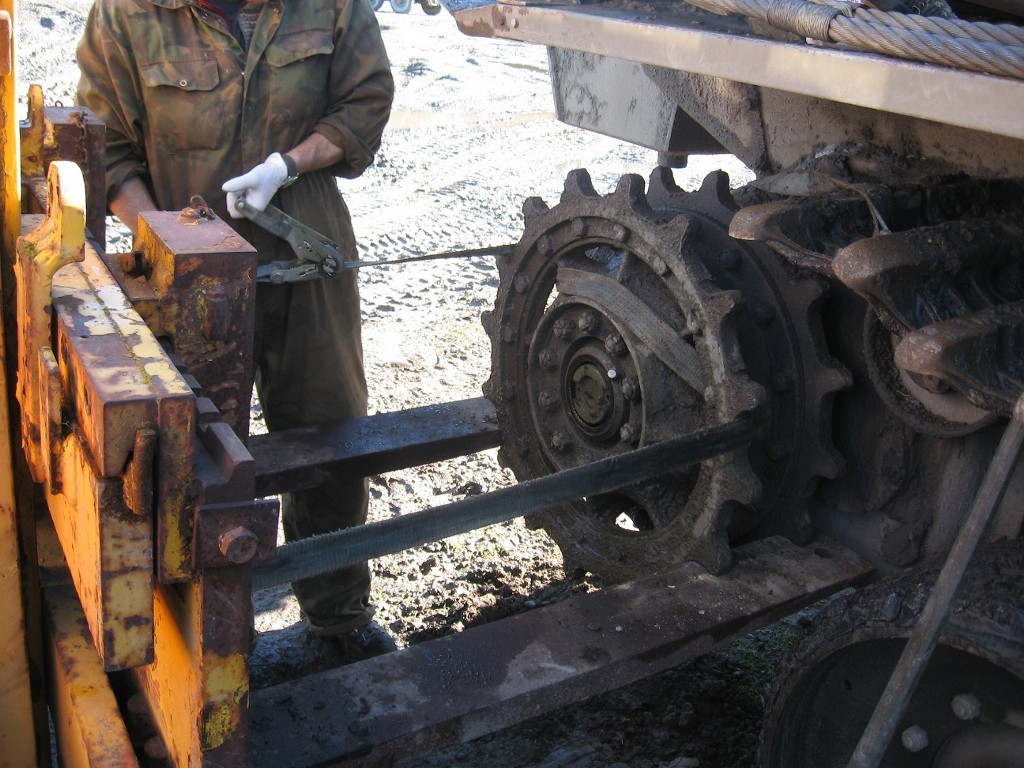
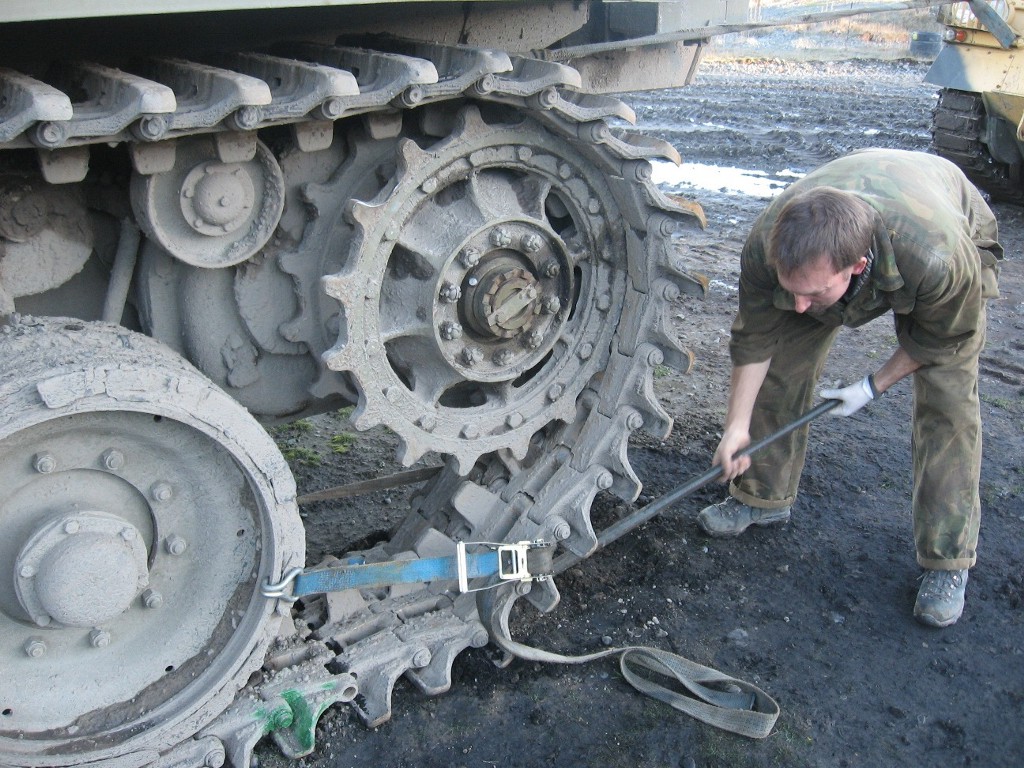
Next, having cleaned all the mud off the lock ring, nut and screw threads, get
your track tensioning spanner (plus handy length of scaffold), remove the locking
clamp and complete up to 21 full turns of the tensioning nut to put maximum slack
in the tracks – to loosen you have to ‘lift’ the spanner – its uses a ratchet
mechanism which helps – so does having 2 people and taking turns.
Repeat for the other track.
|
|
You will now have enough slack in the system to break the tracks – to do this remove the clips from one end of a track pin and knock it out.
Repeat for the other side.
|
|
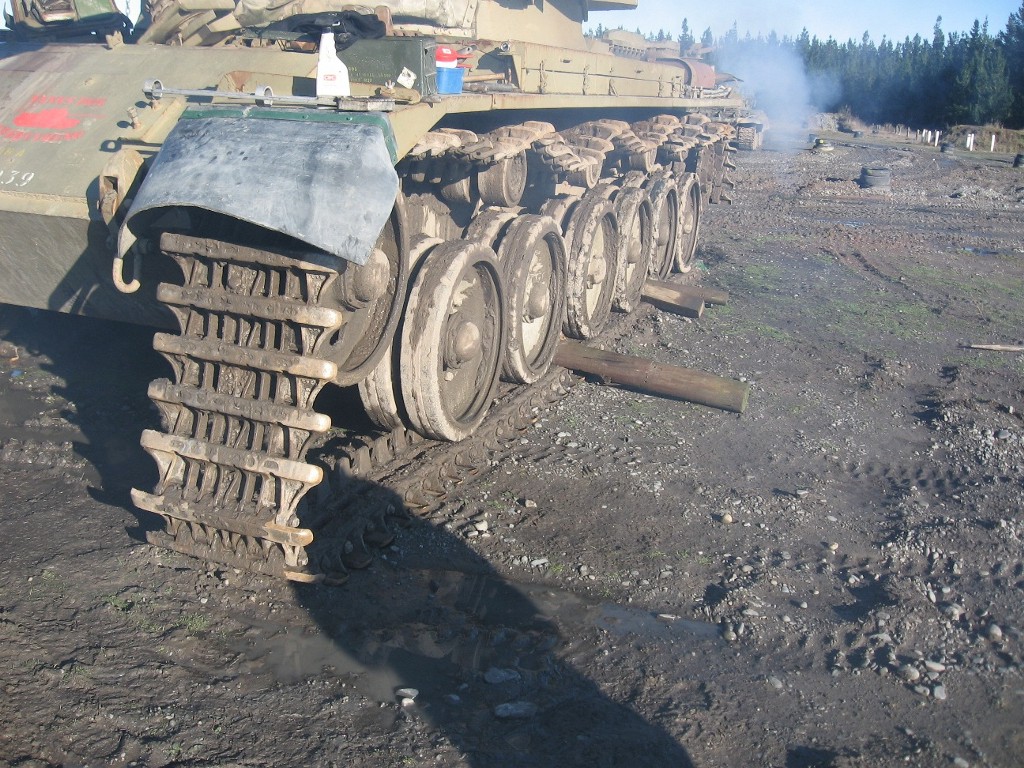
Now start up and carefully ‘drive’ the tank forwards – this will move both tracks forwards around the sprockets producing slack at the front.
Leave the tank in neutral with the handbrake off.
|
|
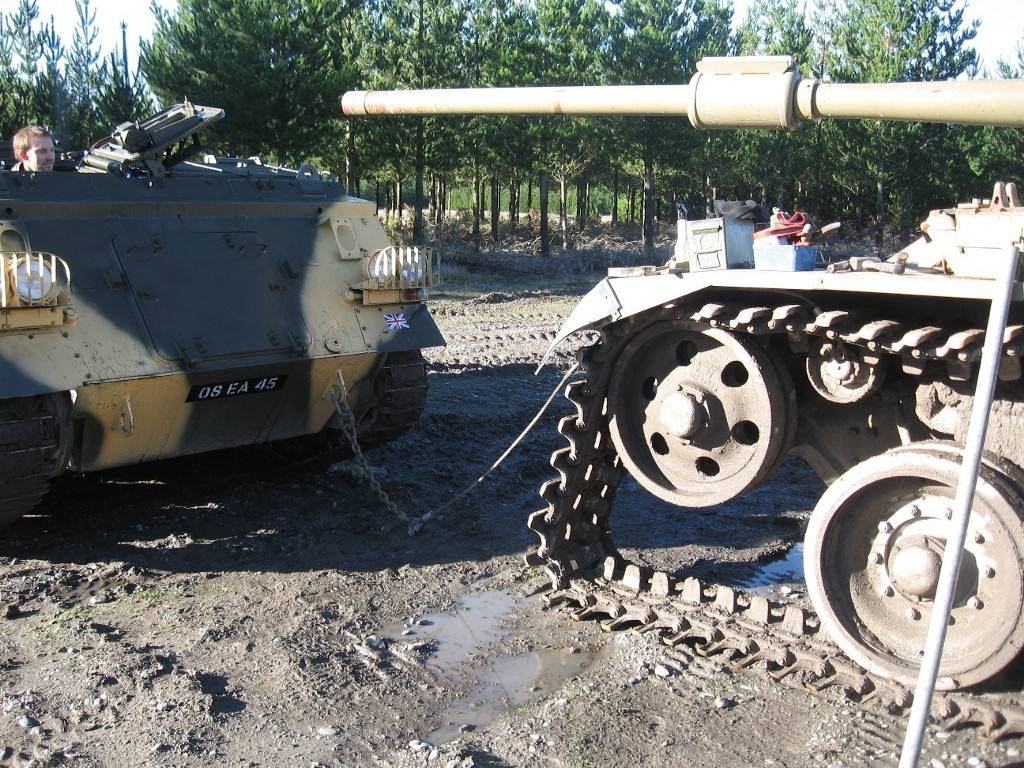
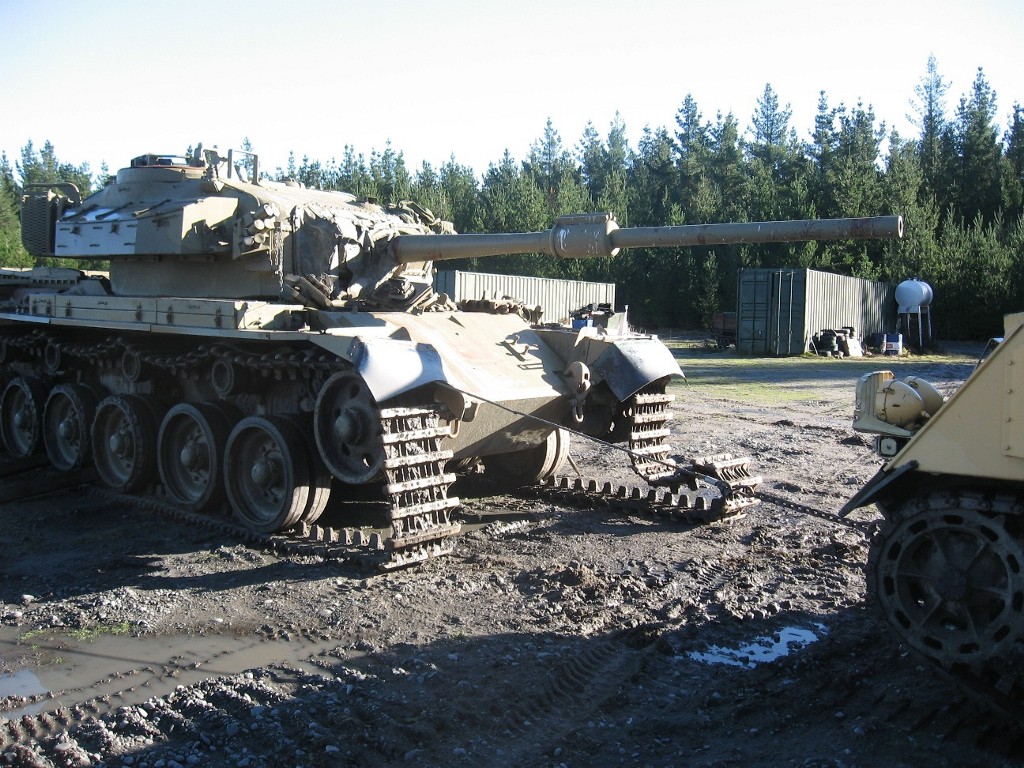
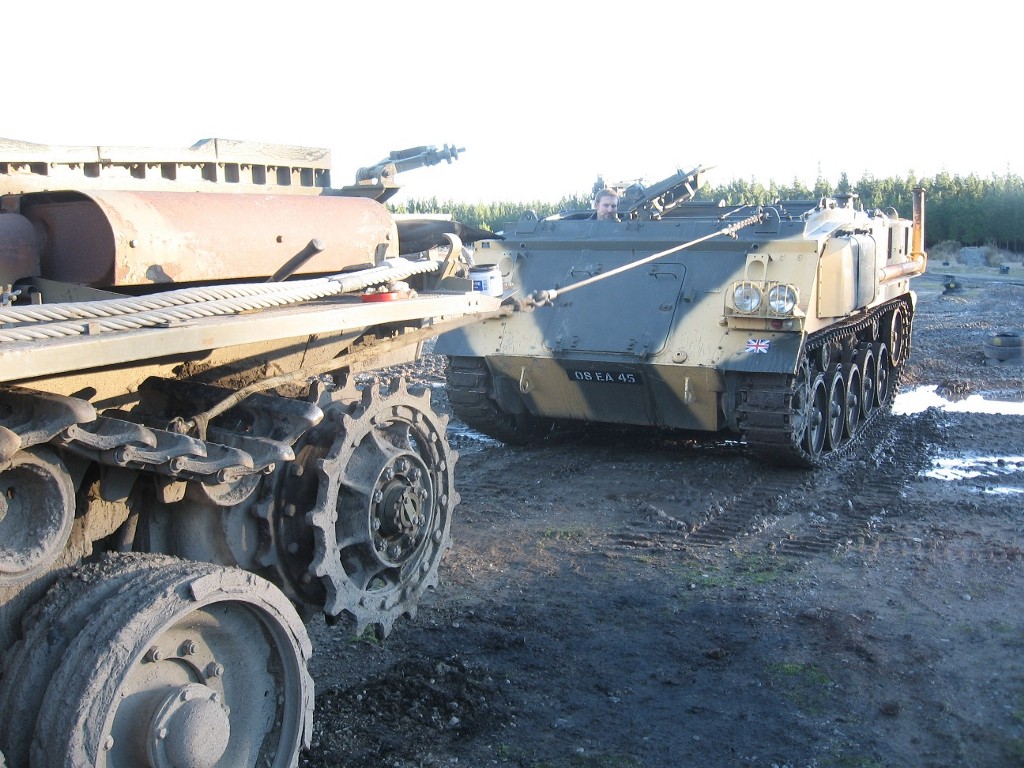
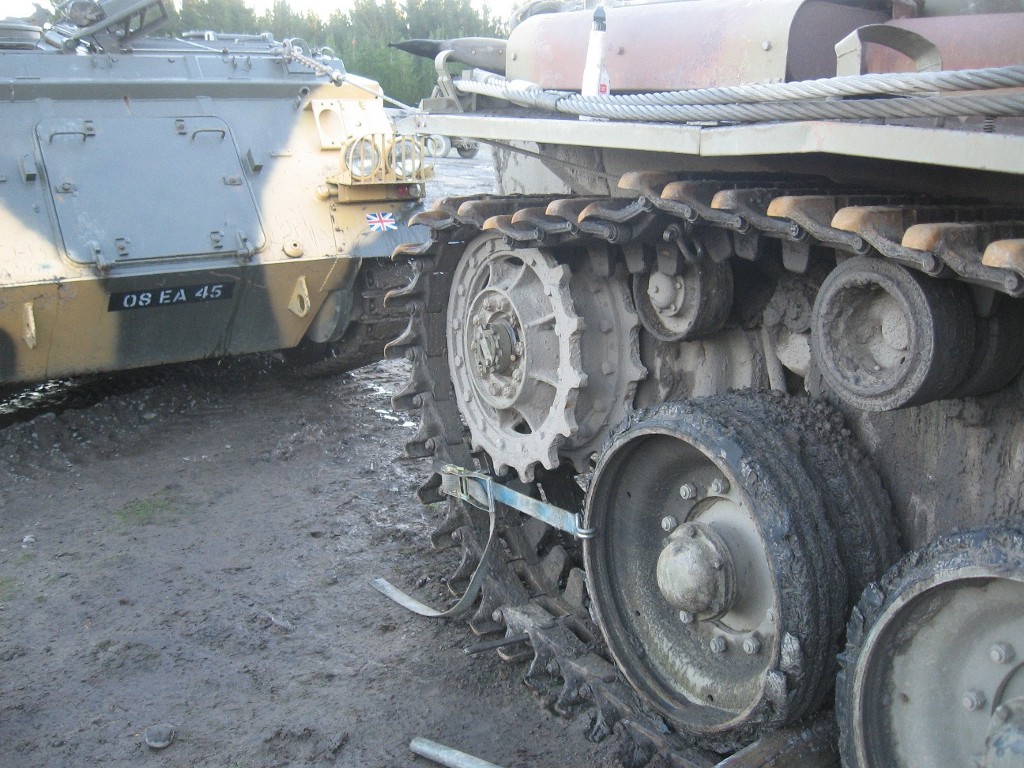
Eventually the tracks will not go any further forwards but rather fold up and jam under the mudguards. At this stage switch off and pull the tracks forwards until they are clear of the tank’s drive sprockets – here we are using an FV432 APC to achieve this.
|
|
Once the track is clear of the sprocket tie it off so it doesn’t all suddenly ‘roll’ off the front of the idler wheels and end up in a heap on the ground.
|
|
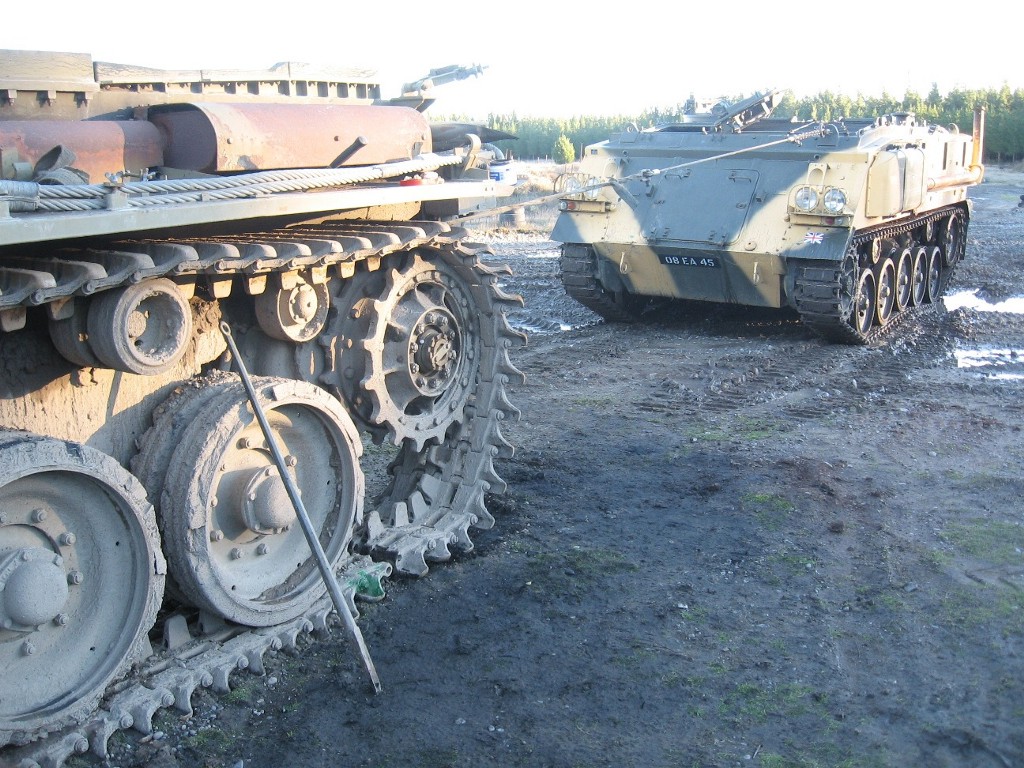
Repeat for the other side – here you can see the left track pulled out in front of the tank.
|
|
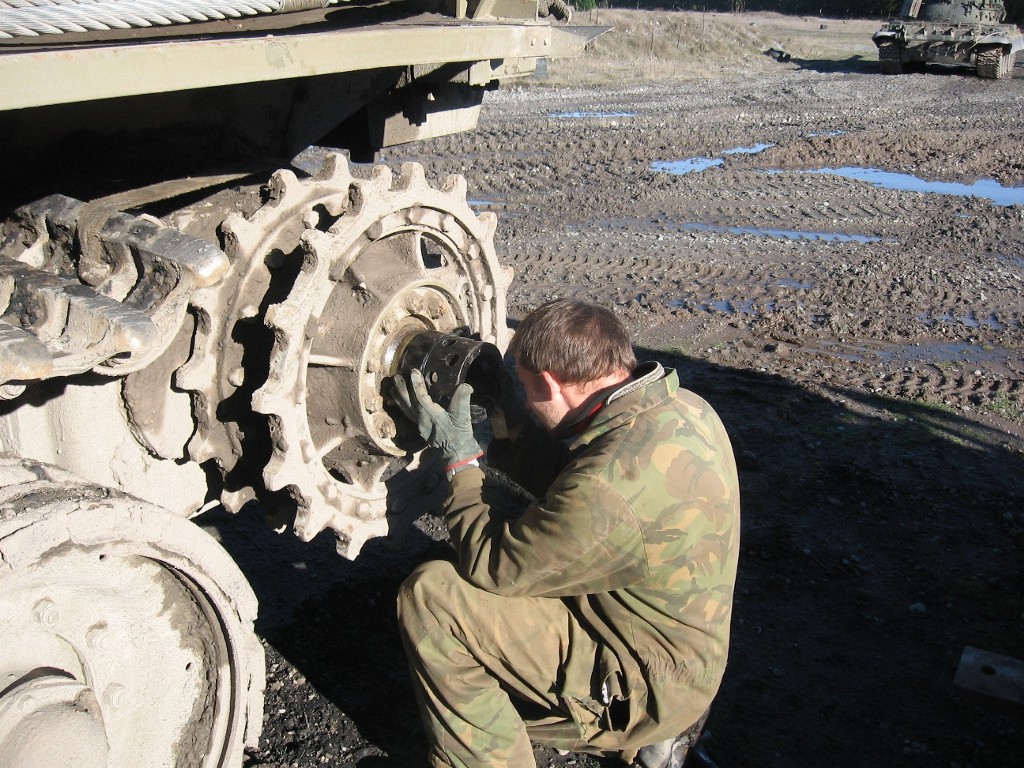
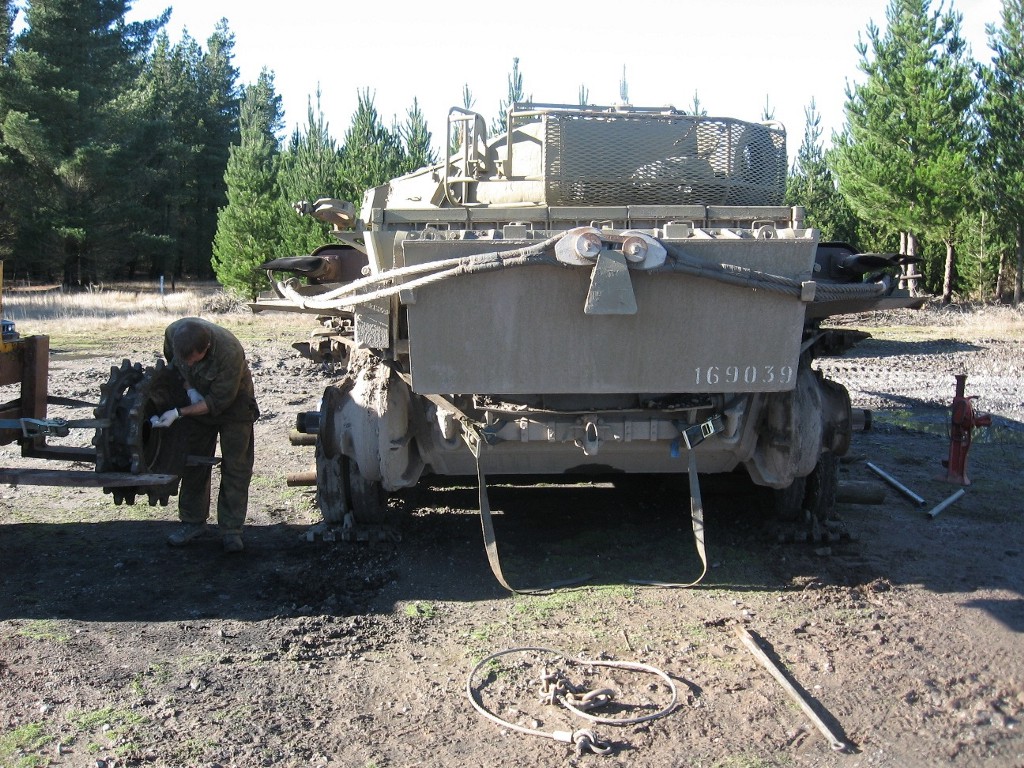
Tie off the second side. Good time for a coffee break now. Next clean the mud off the sprocket release nuts and remove the locking bar. Get your sprocket release tool and fit it onto the castellated sprocket release nut, a hammer can be useful at this point. Make sure the tank is in gear and the handbrake is on.
|
|
Put a suitable bar into the tool and undo the release nut. An extension for the bar may be useful.

|
|
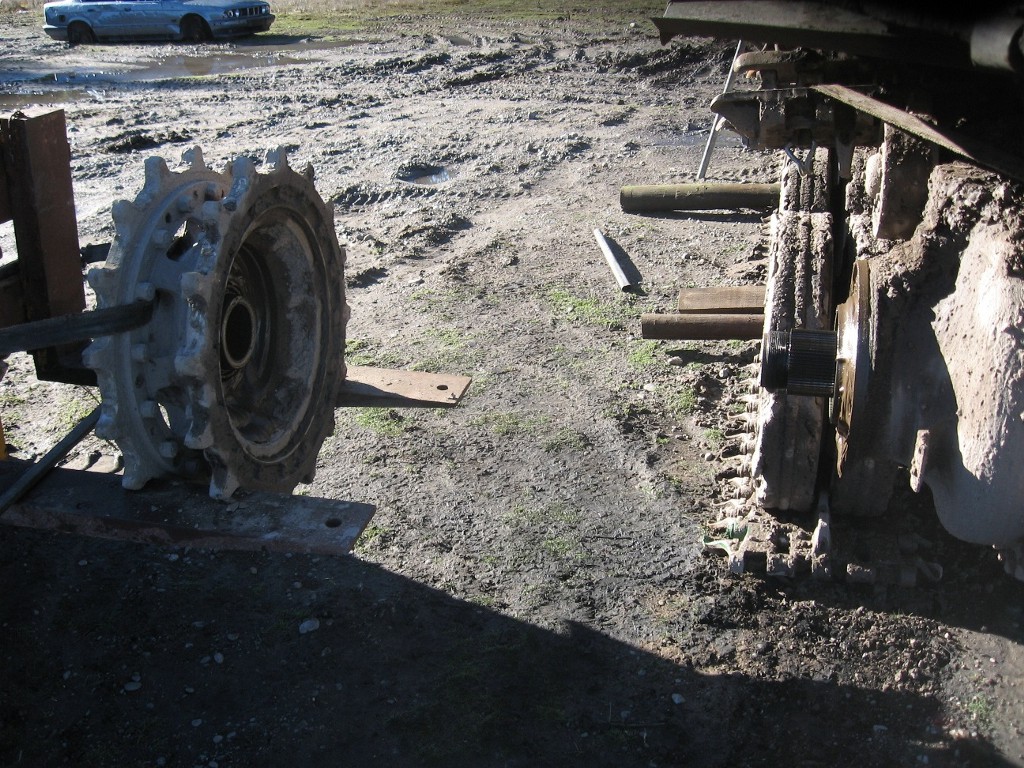
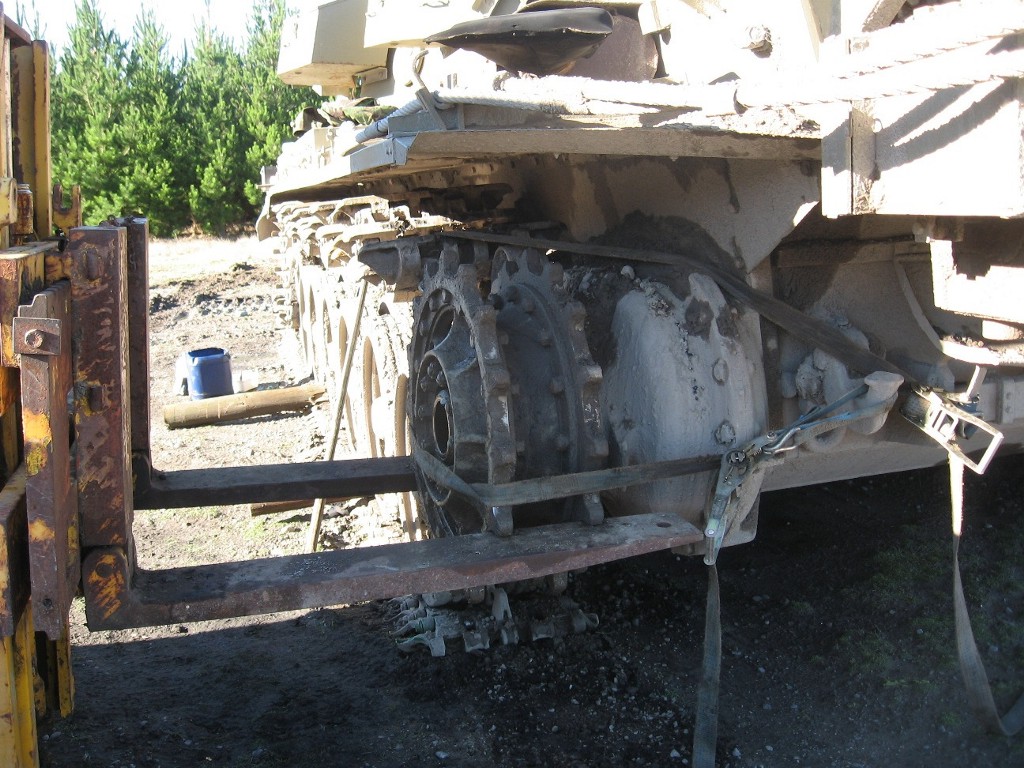
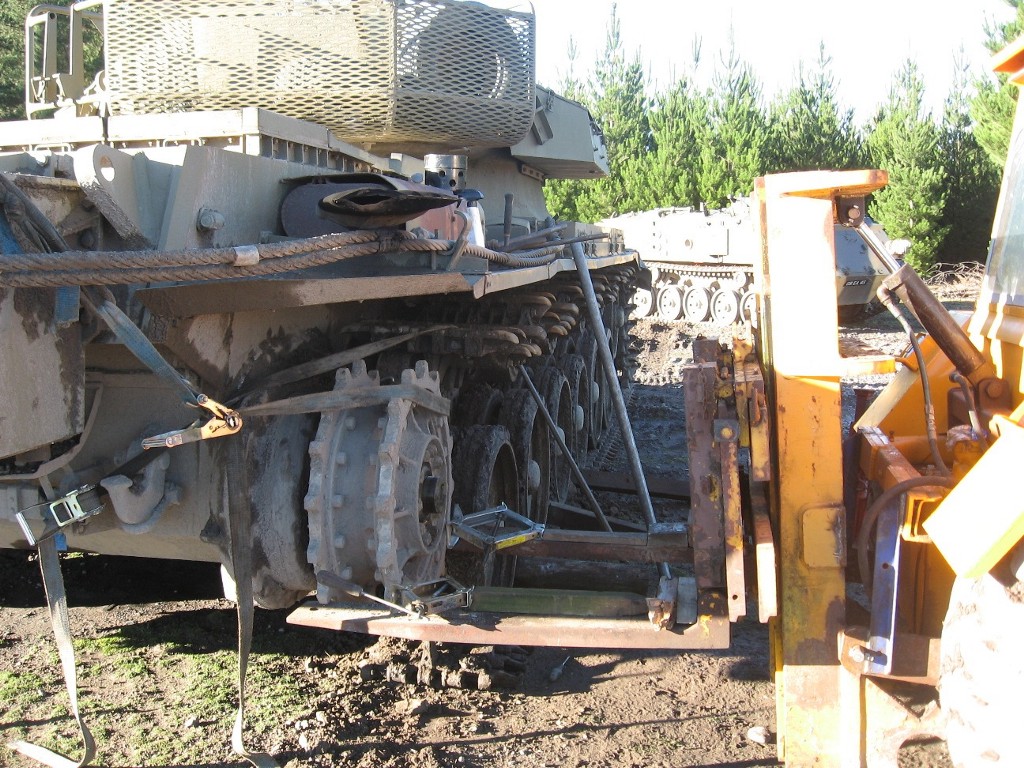
Once the nut is off release the handbrake and put the tank in neutral. Position a forklift under the sprocket teeth and slide the drive sprocket off its shaft. Ratchet straps and a pry-bar proved useful at this stage.
|
|
Repeat for the other side’s drive sprocket.
|
|
Take this sprocket and move it to the other side of the tank. Make sure it’s nice and clean. The 2 ratchet straps around the back on the tank are the safety measures to hold each track in place in case it tries to roll off forwards.
|
|
Get the drive sprocket to the right position and ‘jiggle’ it until the splines line up (if jiggle is a word you can use for something that weighs about 200kgs). Slide it into position – ratchet straps are useful again along with a couple of scissor jacks.
|
|
Put the tank in gear and handbrake on. Refit the castellated nut and tighten. Have lunch.
|
|
Put the tank into neutral. Repeat the re-fitment for the other side / sprocket.
|
|
Tank into gear and refit the castellated nut. Put the locking bar back on each side and re-grease each side – lots of grease.
More coffee.
Next put the tank into neutral, remove the ‘safety’ ratchet strap and pull the track backwards onto the sprocket, again the FV432 is being used here.
|
|
As the track reaches the ground level, lever it forwards as the APC pulls it around the sprocket.
|
|
With the APC still taking the strain, lever and pull (good old ratchet straps again) the tracks into alignment to refit the track pin. (If the tracks have reached their wear limit for tensioning you could also remove a track link at this point in order to shorten up the whole track.)
|
|
Refit the track pin and re-seat the clips. Repeat the track pull and alignment for the other side. Here we have put a guide pin into place prior to re-fitting the actual track pin.
|
|
Coffee again. Then re-tension each track using the big ratchet spanner. This time you are pressing down on the spanner, useful since you can use your body weight to get a good bit of tightness into the tracks.
|
|
Once the tracks are as tight as you can get them remove all the chocks from both sides and you are good to go. (Needing a couple of hundred extra revs to get moving followed by a splintering sound means you missed the last step).
|
|
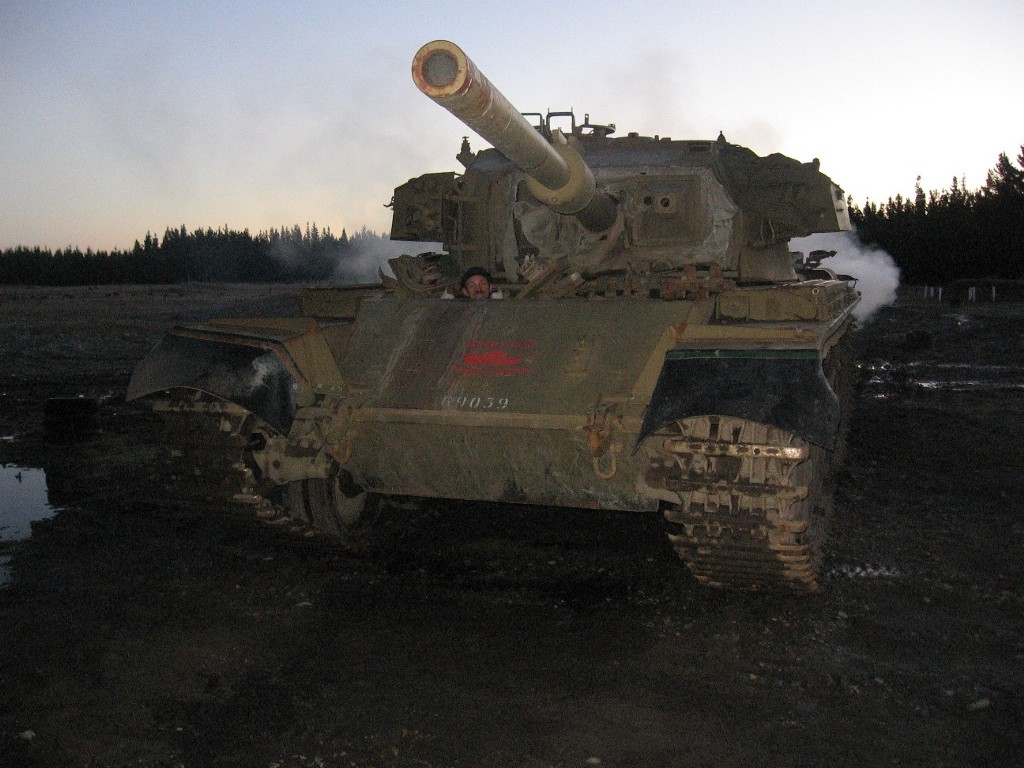
Drive the tank for a bit and then re-check to see if the tracks need tensioning up any further and also if the castellated sprocket release nuts need any more tightening following the sprockets bedding in with a bit of use.
As you can see we got done just as it was going dark, so those re-checking jobs had to wait for the next day.
The sprockets reaching to point where they needed swapping around also coincided with the track wear being at about its halfway point.
So by the time the ‘new’ sides of the sprocket teeth are worn out it looks like we’ll also have removed all the track links we can do and it will be time for a complete new set of tracks and sprockets. Ouch.
Jonathan Neary
Business is: "Tanks For Everything" - www.tanksforeverything.co.nz
No tank-sized workshop yet - so done outdoors.
My thanks to Jonathan.
.
 BACK TO INDEX BACK TO INDEX |