This is a tour of the major armoured vehicles held at the above museum, courtesy of
Vince Bloom.
======
The museum also has a significant collection of man portable weapons, these include legally
held operable machine guns and flame throwers. Not even in our dreams could an Australian
museum give "live" days of its weapon collection. Unfortunately I don't have the server
space to also include the fire arms side of the museum or the videos that Vince has
provided of their M113 and variants in use.

|
|
|
|
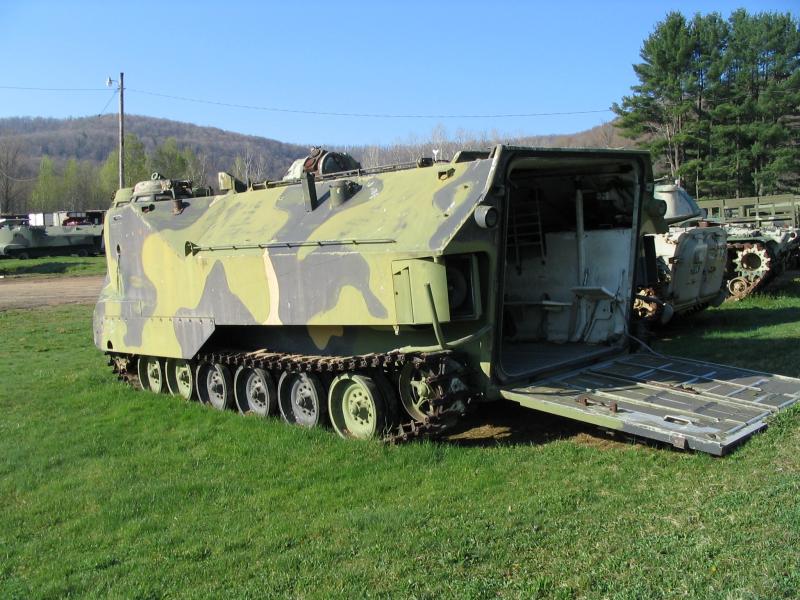
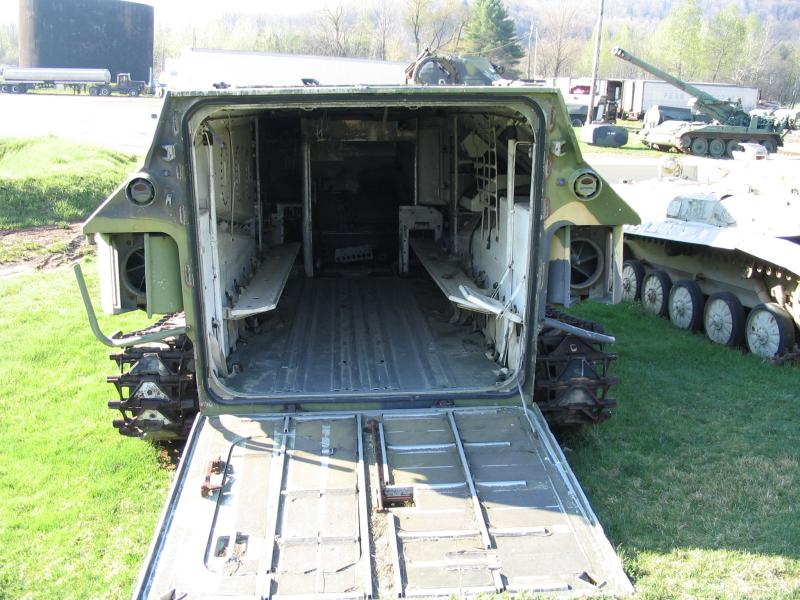
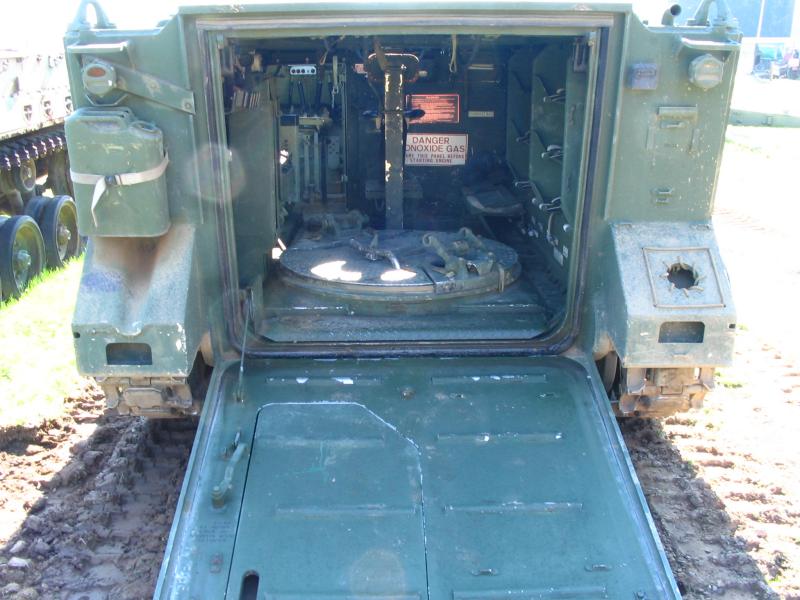
Plenty of access through the rear ramp.
|
|
Note the amount of room inside, essential when troops have all their
gear and weapons.
|
|
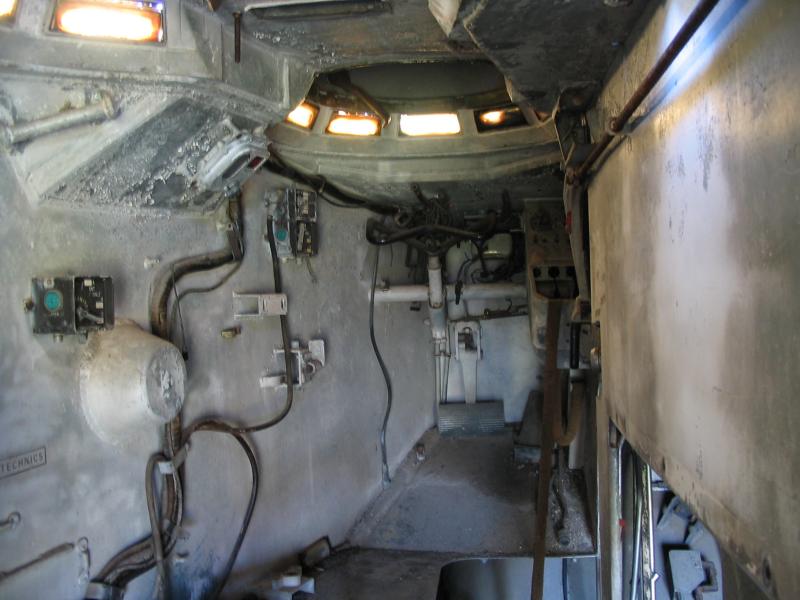
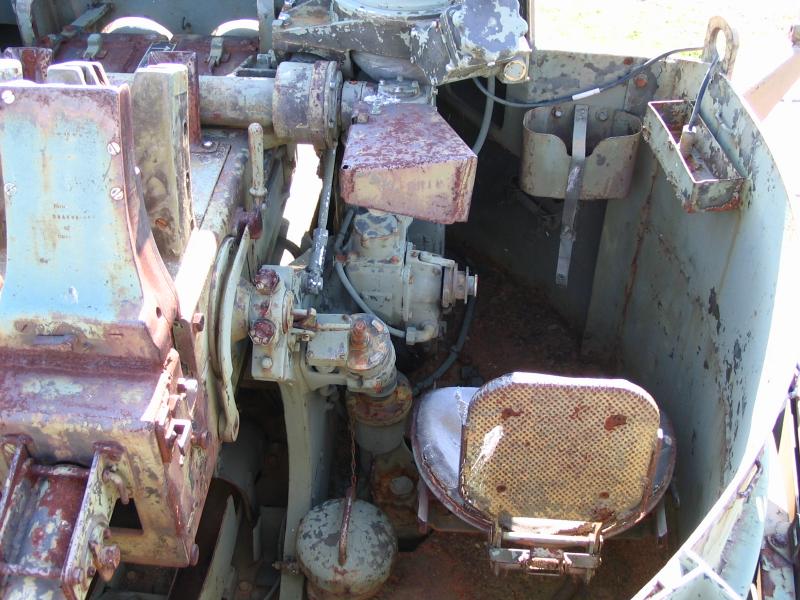
View into the driver's area, note the seat is missing. Also note the
delamination and yellowing of the periscopes, this appears to be
a common failing found in periscopes manufactured in the USA.
|
|
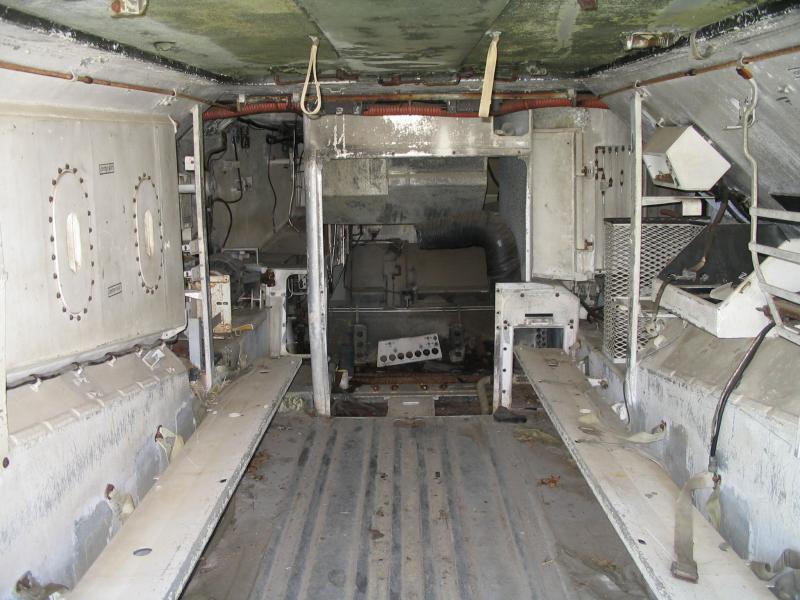
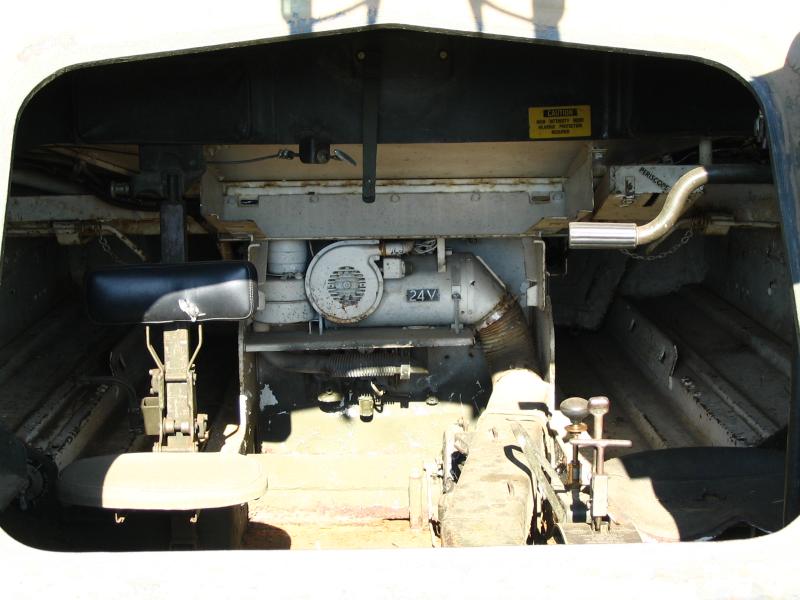
Looks like somebody cleaned out the engine compartment.
|
|
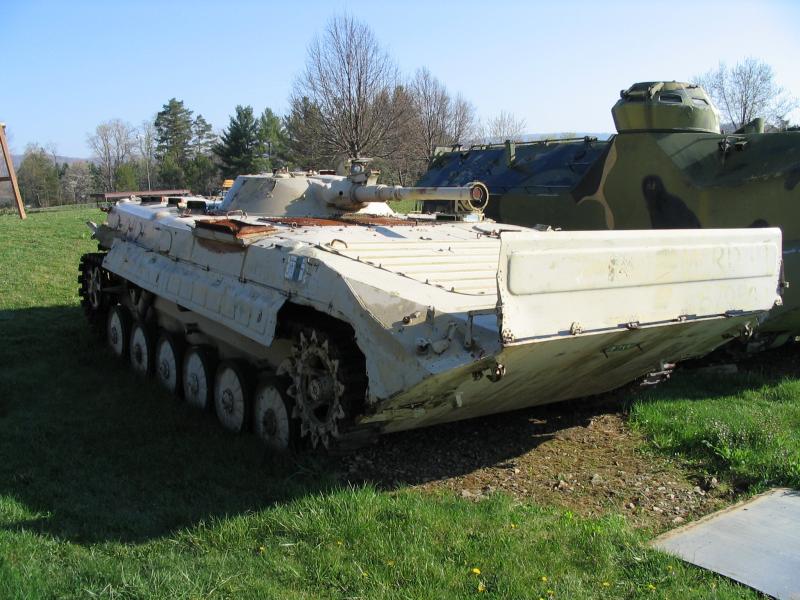
A Russian BMP-1. Essentially the Russian equivalent to a Bradley but
many years earlier.
|
|
Like the LVTP-7 it is also amphibious. The lower height has as many
disadvantages as advantages. The large flat device sticking up from
the bow is the "trim vane", this serves to stop the nose digging into
a wave and forcing the vehicle under.

|
|
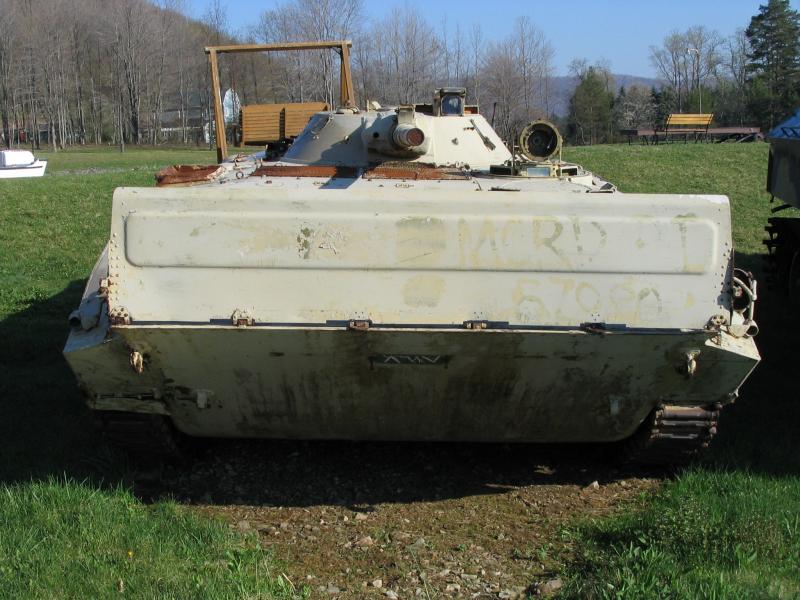
Rear access is via these 2 side hinged doors. They are also the fuel
tanks - not an idea the west has embraced!
|
|
Rear shot.

|
|
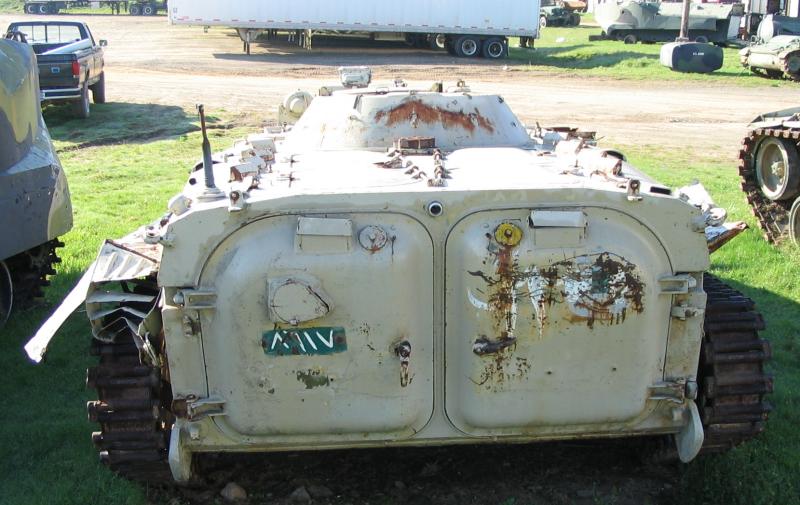
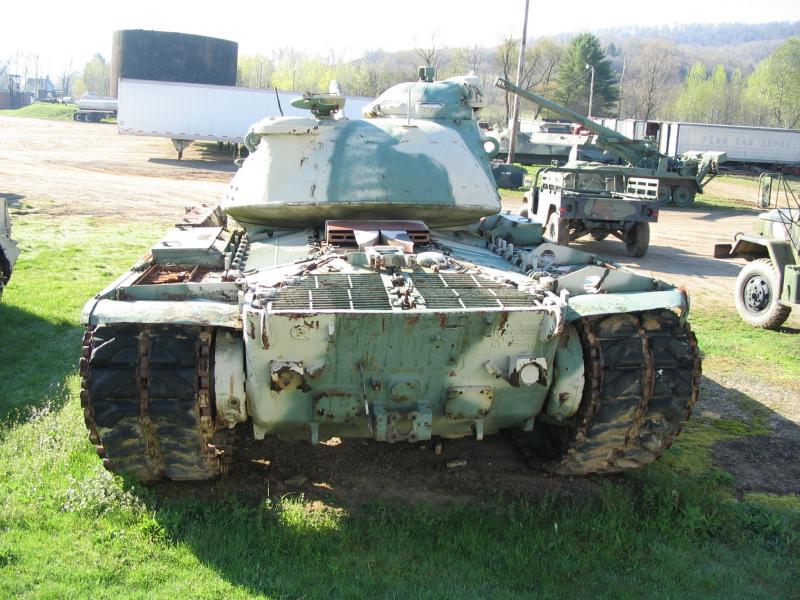
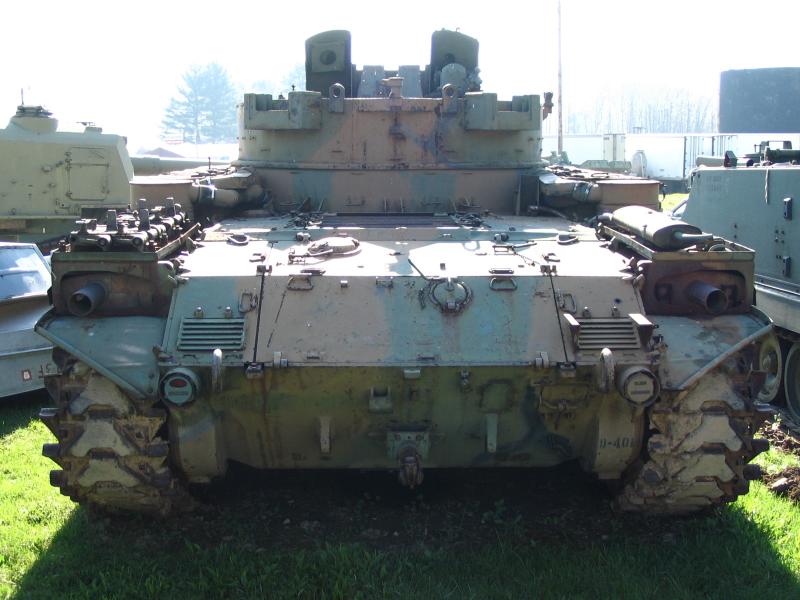
M-48 Patton Tank - pity the muzzle brake is missing. Note the commander's sub turret.
|
|
Note the th sprocket engagement in the track "end connectors" and
the most curious little auxillary wheel just to the front of the
sprocket.
|
|
This shot shows the huge width of the tracks, centre connectors were
needed to stop track pin breakage due to flexing. Looks like there
is a lot of parts missing from the stern plate.

|
|
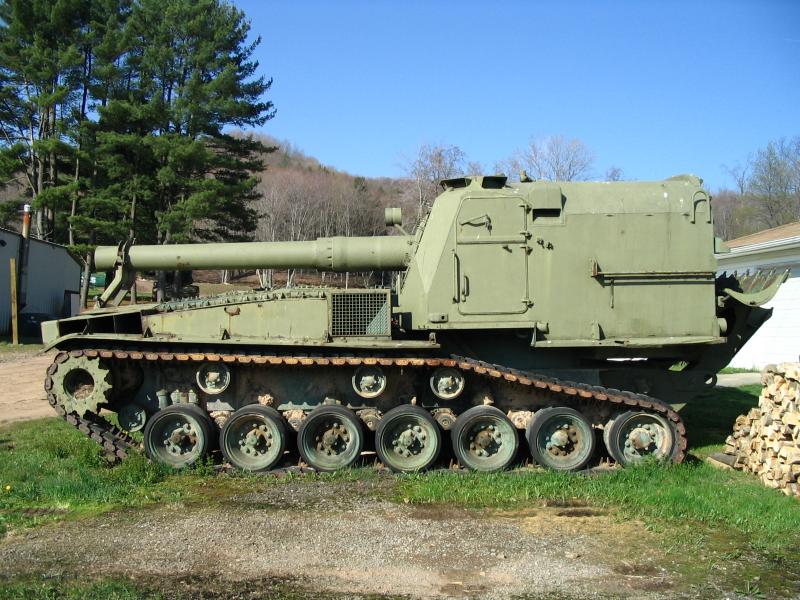
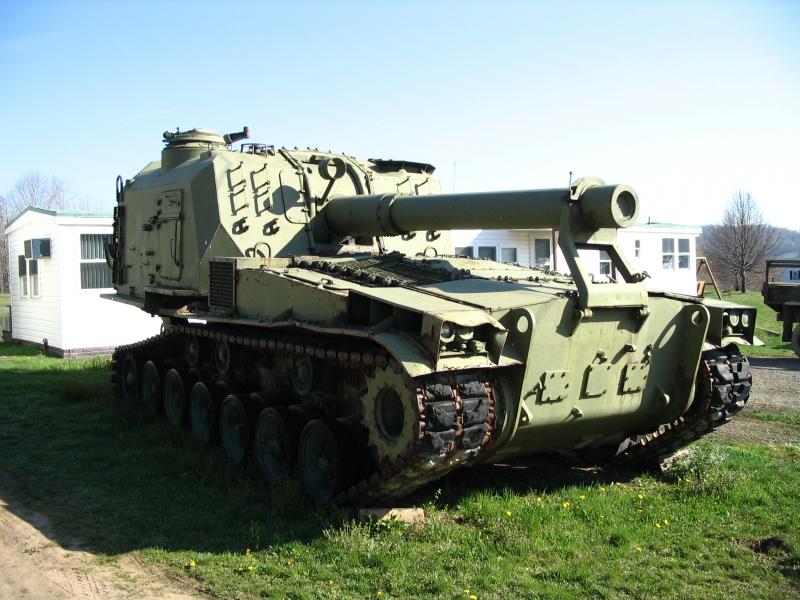
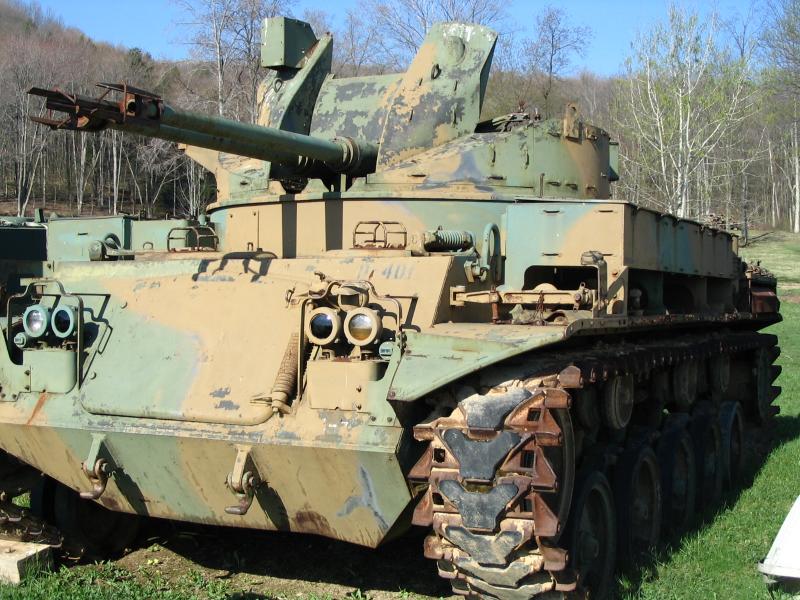
M-55 Self Propelled Heavy Howitzer - 8in.
This is a prototype for the series, so there may be some differences between it and a standard M-55.
|
|
Note the reversion to the design of a track idler that is also a
road wheel, most odd. The turret had a traverse limit of only 30�, but
considering the recoil of that huge gun, this was no doubt to prevent
the vehicle from falling over.
|
|
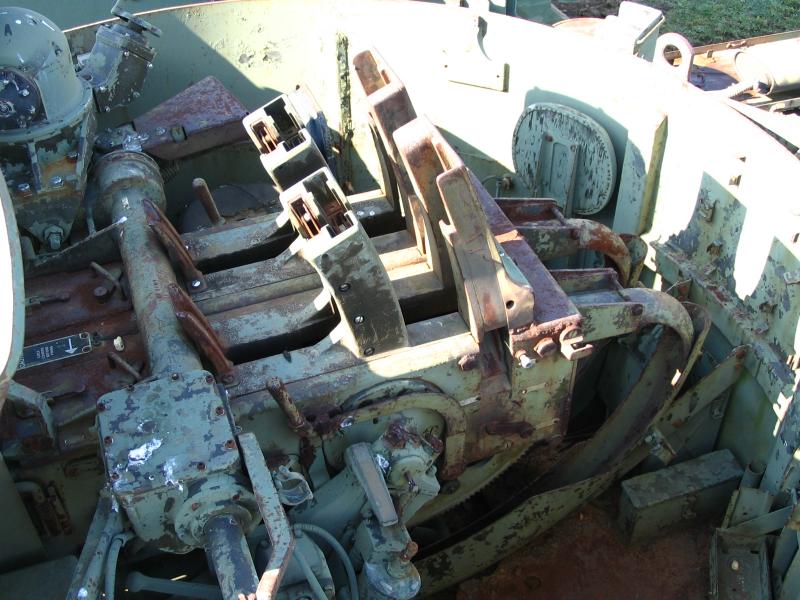
The other oddity of this vehicle is that the driver is included in the
turret. Probably not such an issue for an artillery piece as the turret would
be locked forward on the move and the gun would not be fired whilst moving.
In this shot you can see the huge recoil spade.
|
|
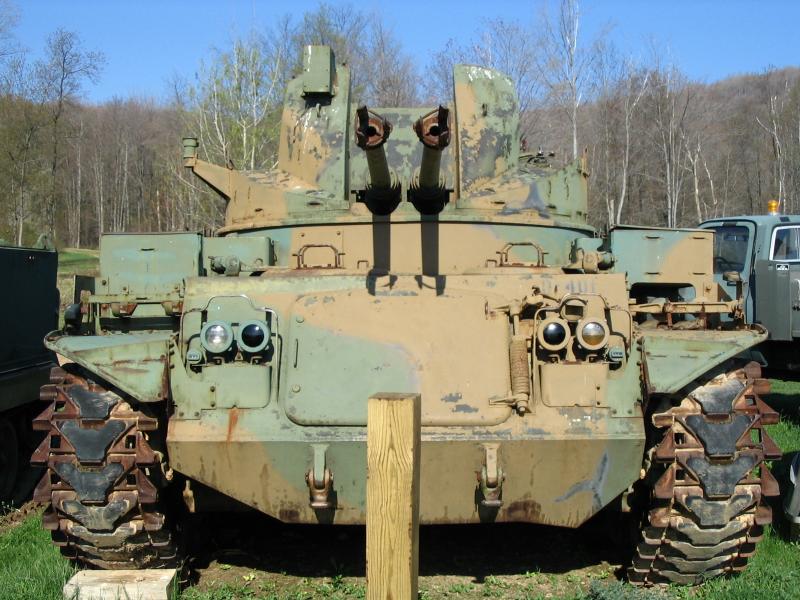
An M-42 "Duster" Anti-Aircraft Tank. These had twin Bofors 40mm auto
cannon and were the start of the dedicated AA tanks. This vehicle is not at all common.
|
|
It is essentially a re-manufactured M-41 Walker Bulldog Light Tank. The
conversion was well thought out, the AA turret was designed to use the
existing Bulldog turret ring, no doubt this probably caused space issues for the
crew.
|
|
This vehicle appears to be very complete. If you look above the RHS
muffler you will see what looks like a car muffler, this would be for the
auxillary generator so that the turret could be operational even when the
tank's engine is not running - an essential feature for air guard duties.
|
|
A Bofors gun normally has 2 operators, on of whom controls horizontal
lay of the gun and the other controls the vertical lay. Putting 2
Bofors guns in the one mounting is quite common in naval use and would
have been relatively easy for the "Duster" as all the engineering had
been already done. But fitting in the loaders and ammo handlers etc would
have been quite another matter.
|
|
I think the left hand layer's position was for traverse(?), the control handles
and sights have all been removed so it is hard to tell. Note the seat back folds
down to become a step.
|
|
In this shot the seat back is up. Again all control handles have been removed.
|
|
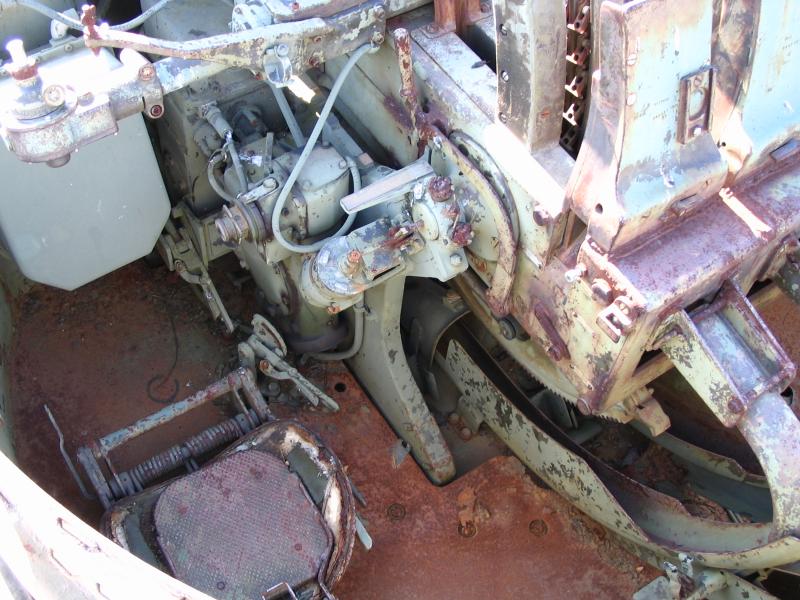
As was typical of US tanks of its era, the engine was at the rear. This
shot is looking through the large glacis plate hatch hole past the driving
controls at the turret basket.
|
|
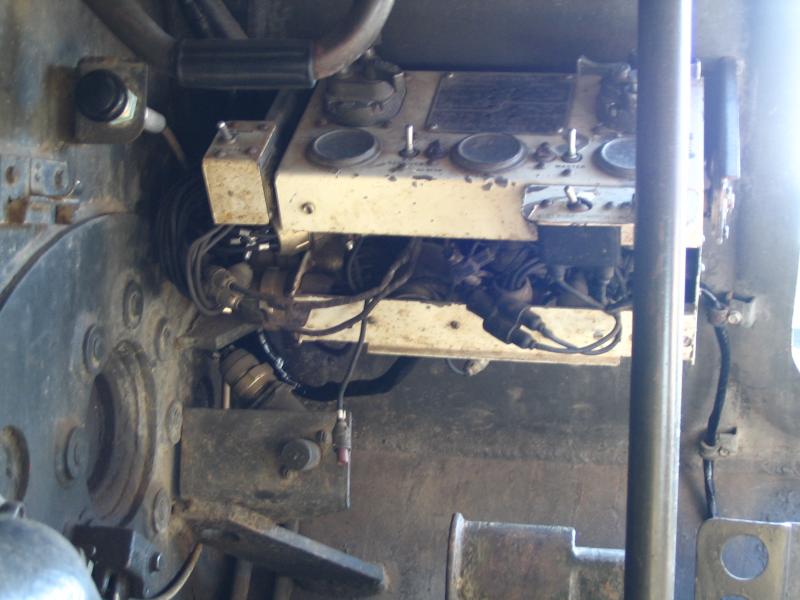
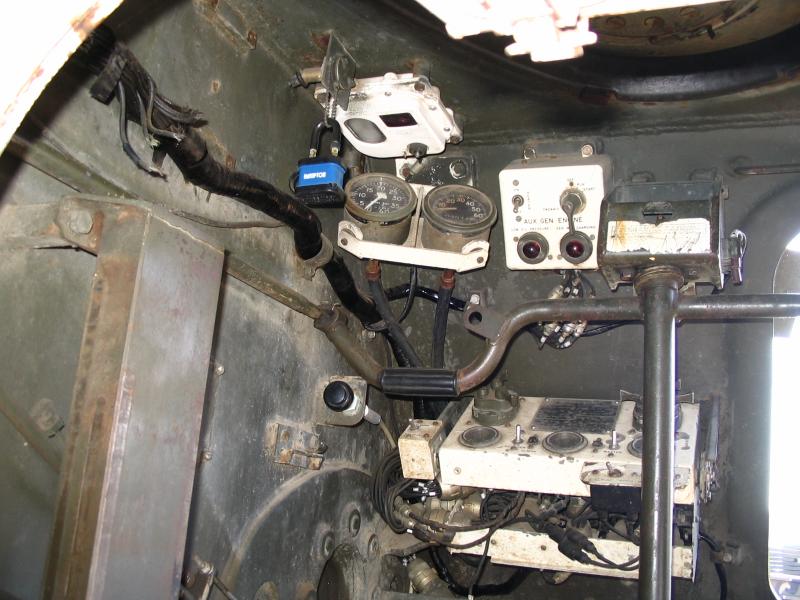
Look closely because this is the driver's controls and instrument panel,
spartan!
|
|
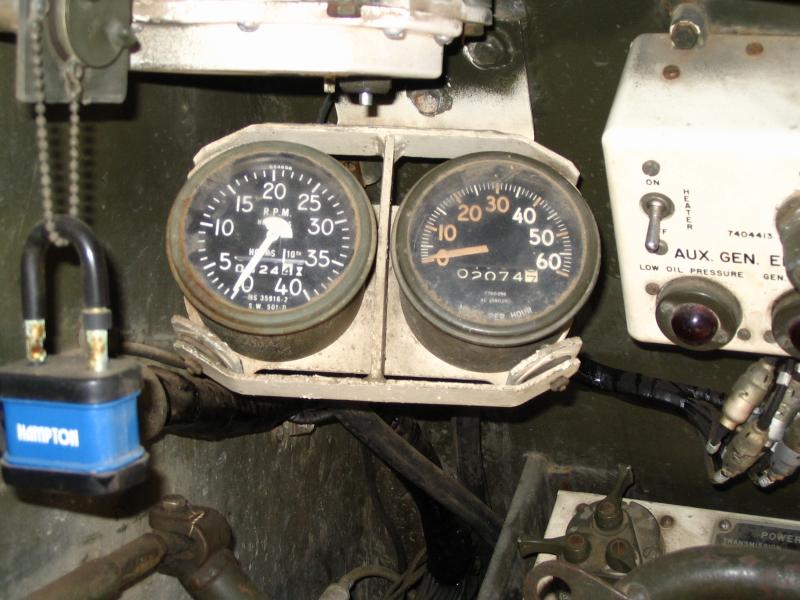
The speedo and tacho.
|
|
The "tiller" bar.
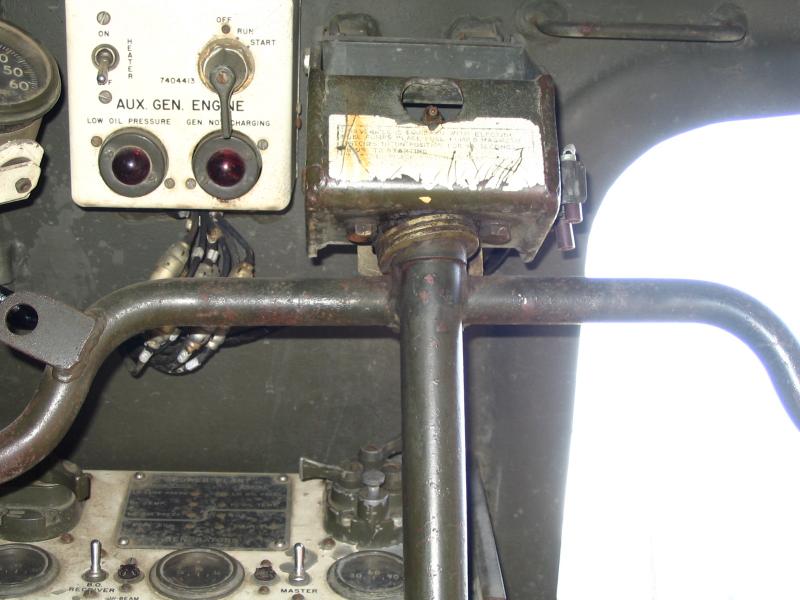
|
|
The "tiller" bar again.
|
|
The "tiller" bar again.
|
|
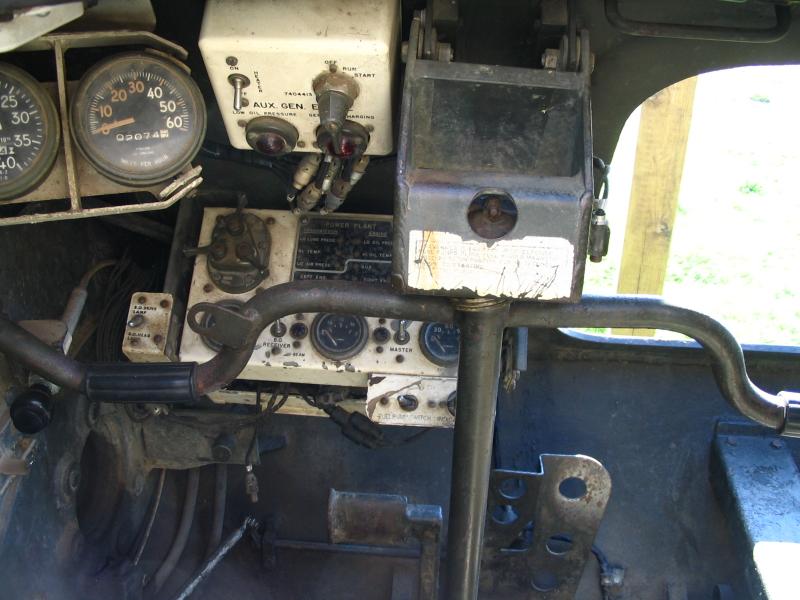
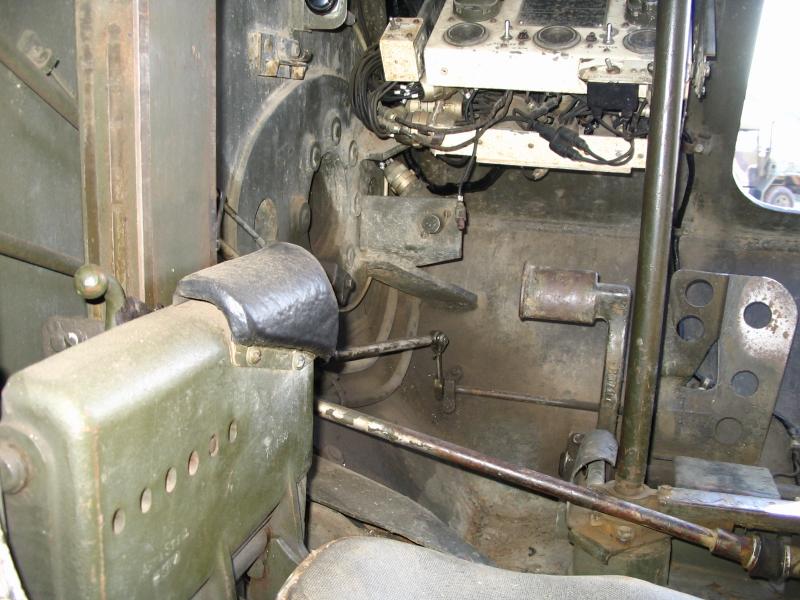
Lower driver's position.
|
|
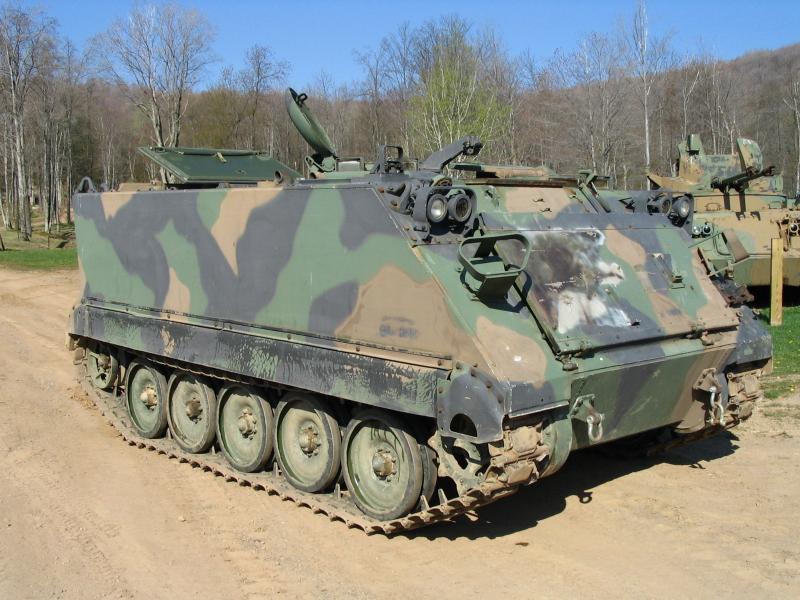
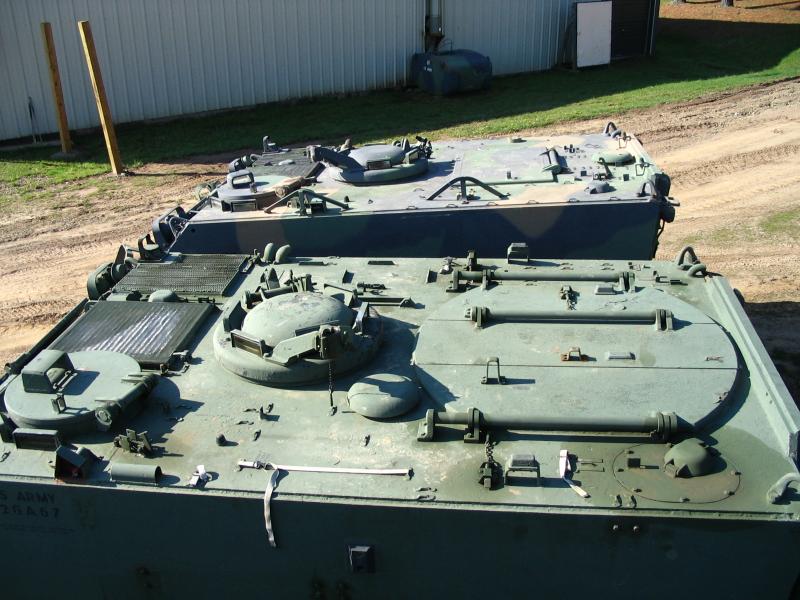
An M-113A2.

|
|
Same vehicle different view.
|
|
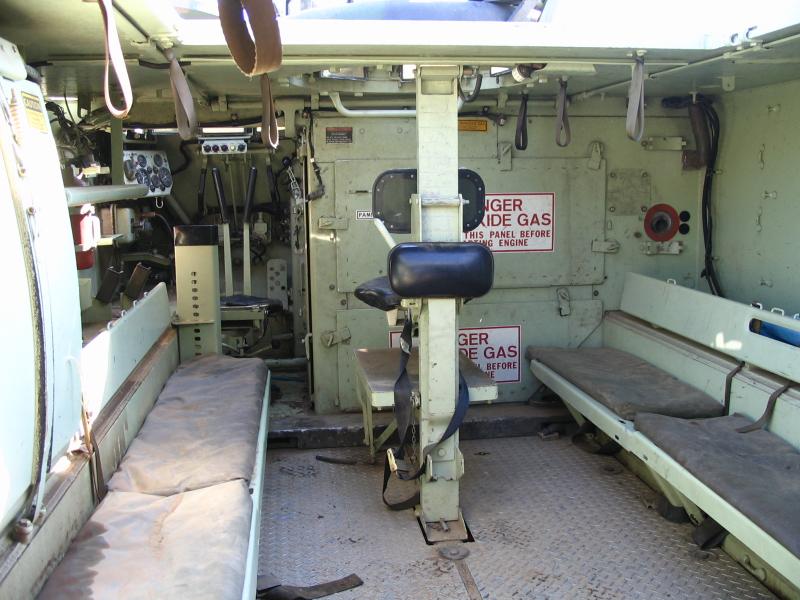
As plain vanilla M113 as it can get. This is the interior as known by thousands
of allied troops. The "Sea Foam Green" colour was developed after a lot of
investigation and is supposedly the most "soothing and calming" colour known.
A lot of people would state differently after going cross country in an M113!
|
|
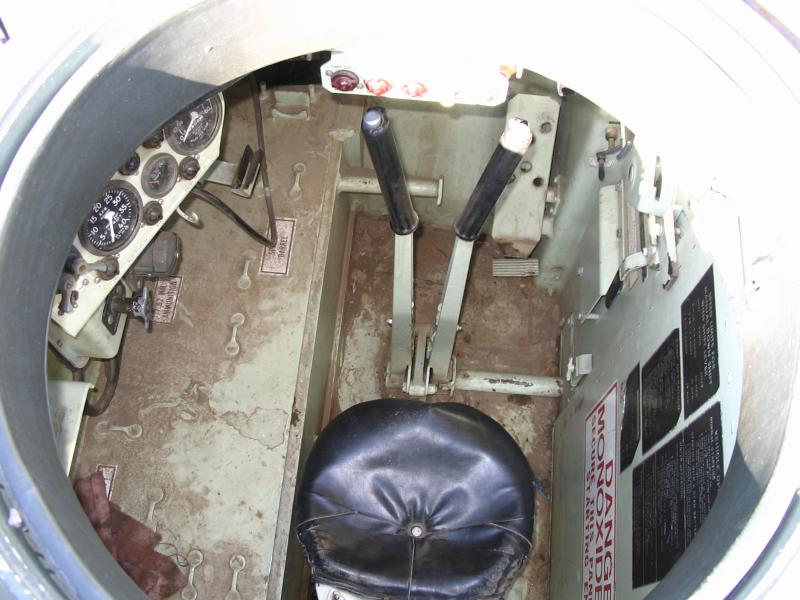
Looking into the driver's hole. The warning light panel is at the top
(over exposed) with the instrument panel to the left. The 2 x "laterals"
(steering levers) are obvious as is the parking brake buttons on the top of
them. It is interesting to note that as this is a US vehicle it has not had
the saftey shields fitted to the parking brake buttons as seen on Australian
vehicles.
|
|
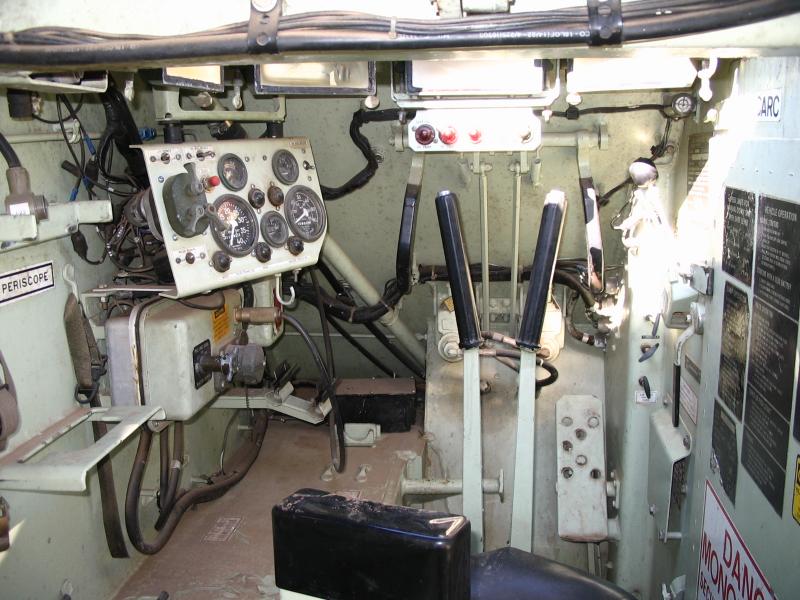
Inside the driver's position, the seat back has been removed to give a
clear picture. Mounted on the hull roof and hanging each side of the
laterals you can see the "pivot steer" handles. These were mainly
intended for steering the vehicle when it is swimming. They will
also cause a locked track turn when the vehicle is on land, however
this puts tremendous stresses on the drive train and is not a good
idea. The Australian army basically regards them as ornaments as
the brakes they control are so hard to keep functioning - they
are a poor design. Application of the pivots above 15 mph can
result in a roll over and is expressly forbidden. These brakes
are totally seperate to the system controlled by the laterals.

|
|
On the left for comparison is the M-113 and on the right is an M-106.
As you can see, they appear to effectively be the same vehicle. The
M-106 is actually fitted out for a Mortar and it is not till you look
inside one or look down on the top of one that you can see the
difference in the hulls - see next pic.
|
|
Note the rectangular "cargo" hatch on the M-113 and the circular mortar
hatch on the M-106.

|
|
The mortar hatch is actually a 3 piece design with one section folding,
quite unlike the M-113 hatch which just hinges to the rear.
|
|
Here is the turn table for the mortar. I am curious as to what the
hole in the right rear mudguard is for, especially the elaborate
rope work?
|
|
M-106 but inside the museum with mortar in place. Note that strange bit of rope work in the RHS mudguard again.
|
|
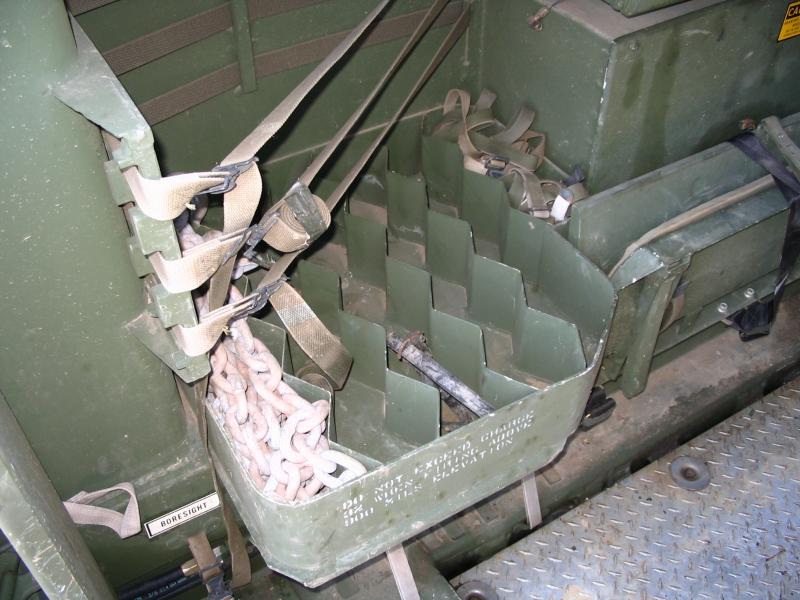
Internal stowage details.

|
|
Many are the APC crew, of all variants, who failed to adhere strictly to
the trim (balance) requirements of the vehicle. With only a limited
free board (6 to 8 inches) it is essential that the vehicle be operated
within all requirments set by the manufacturer. Failure to do so results
in a sunk vehicle!
|
|
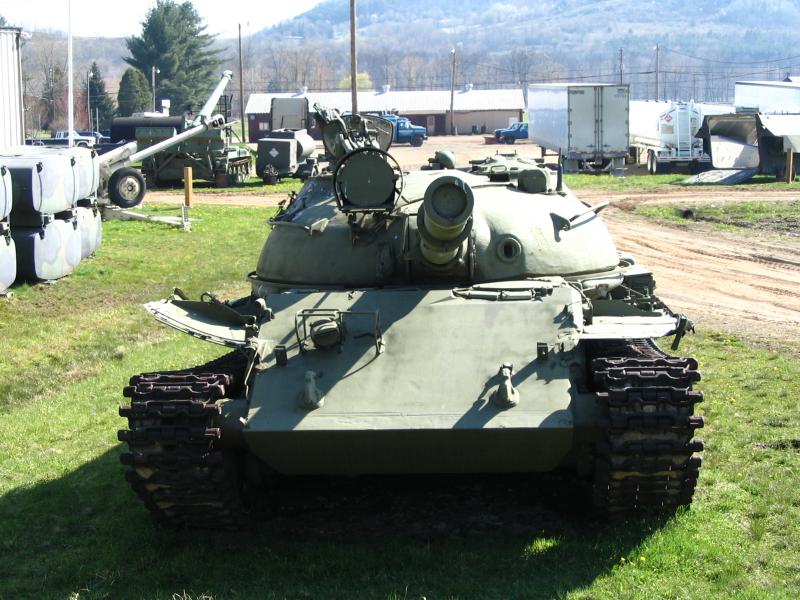
Full frontal view of the T-62. This shot is interesting as because of the
mudguard damage you realise that the hull is actually quite narrow compared
to the bulky turret. It also show to good effect that the turret ring is
actually much smaller than the width of the turret would otherwise suggest.
This is true of many tanks not just the T-62.
|
|
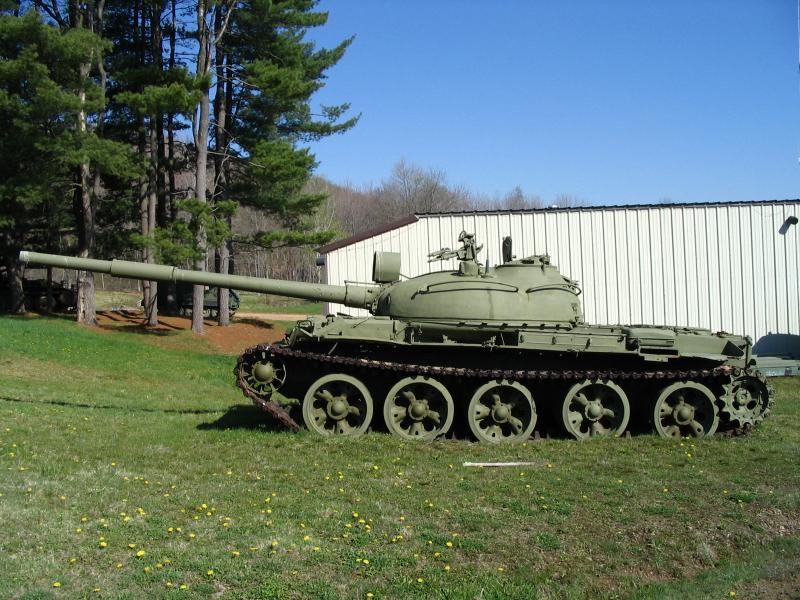
Another shot showing to good example a characteristic of modern tanks - the
main gun length.

|
|
Note the dry pin tracks and the spent shell hatch in the rear of the turret.
|
|
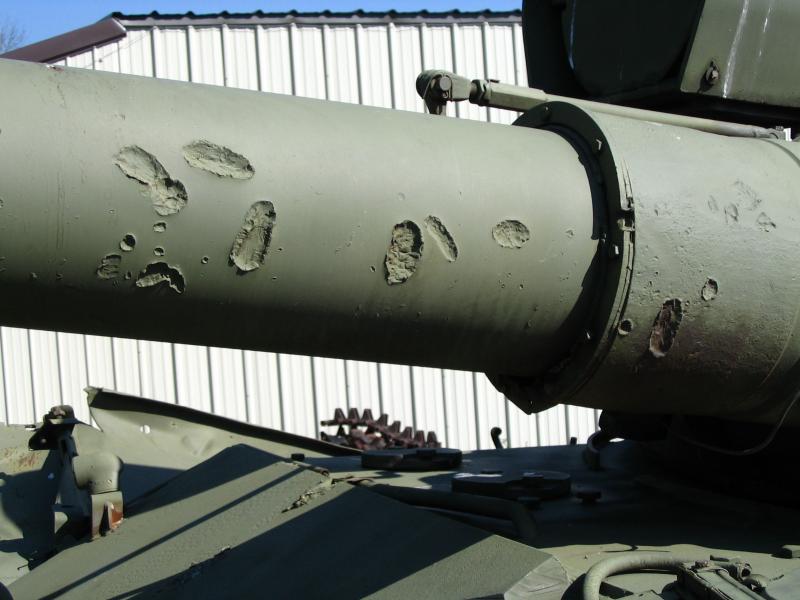
Doubtless this tank could tell some stories.
|
|
Not a pretty sight, no more firing for this gun.

|
|
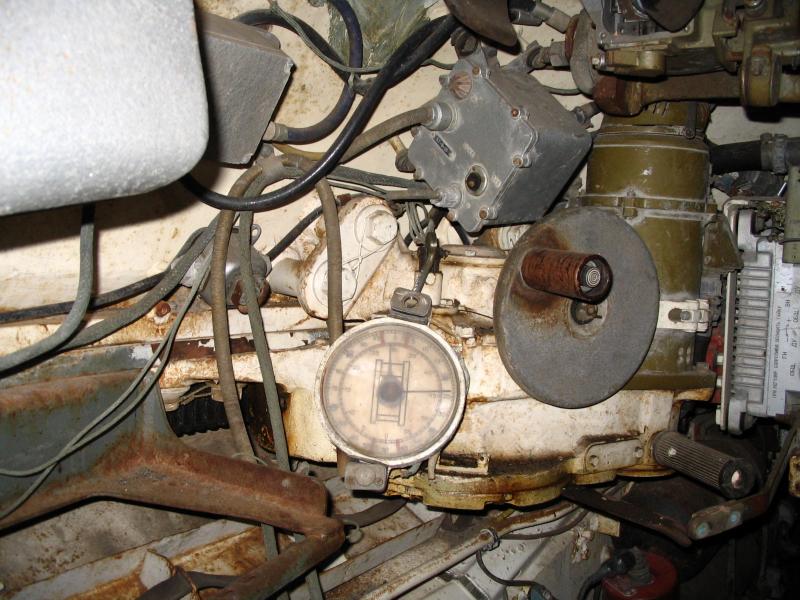
Turret internal details RHS.
|
|
Turret internal details LHS. Note the turret position indicator.

|
|
This turret position indicator also appears to be some sort of gunnery
indicator as the graduations look more like "mils" than degree markings?
|
|
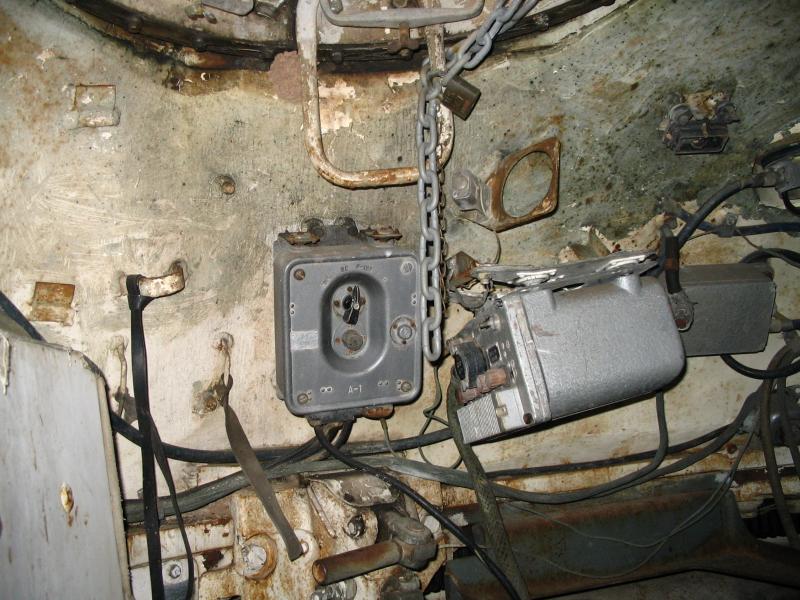
Stuff?
|
|
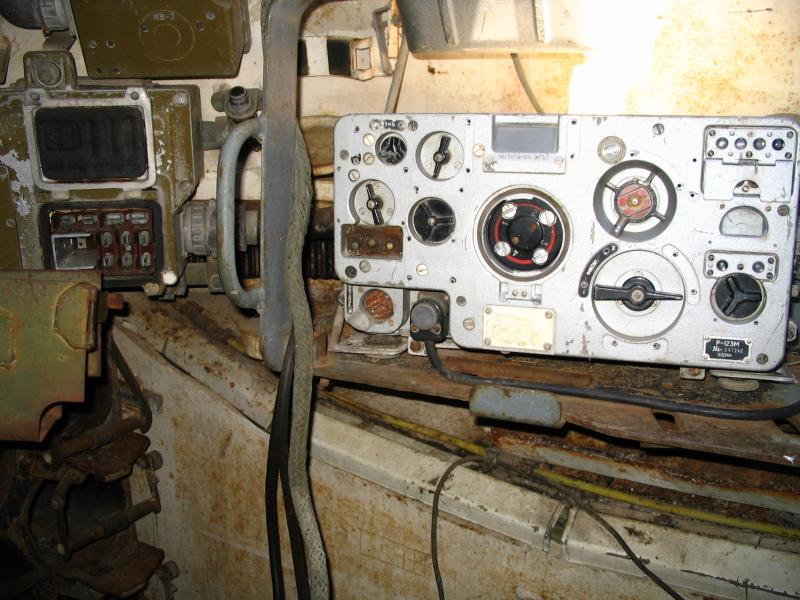
What the heck is this? A radio? Turret Stabilizer?
|
|
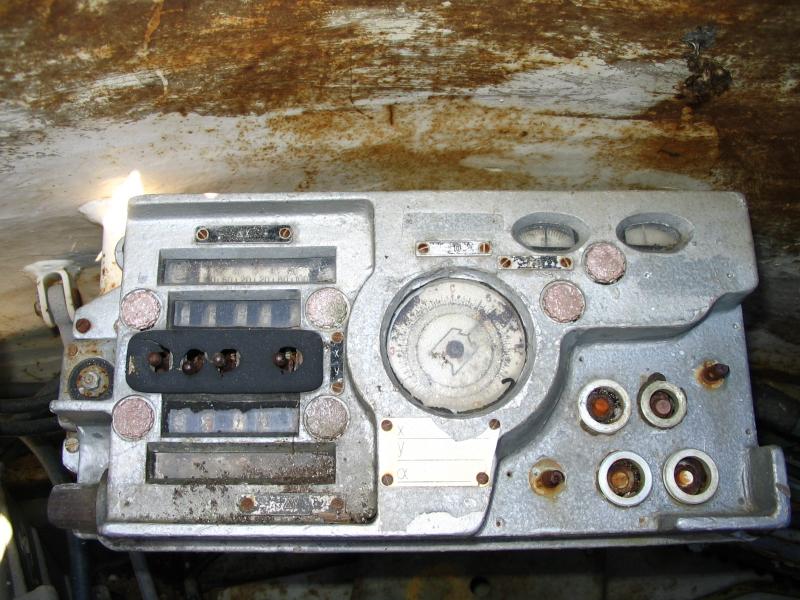
I think this is some sort of ranging or targeting or possibly navigation device.
It looks like that's a diagram of the tank in the center dial.
|
|
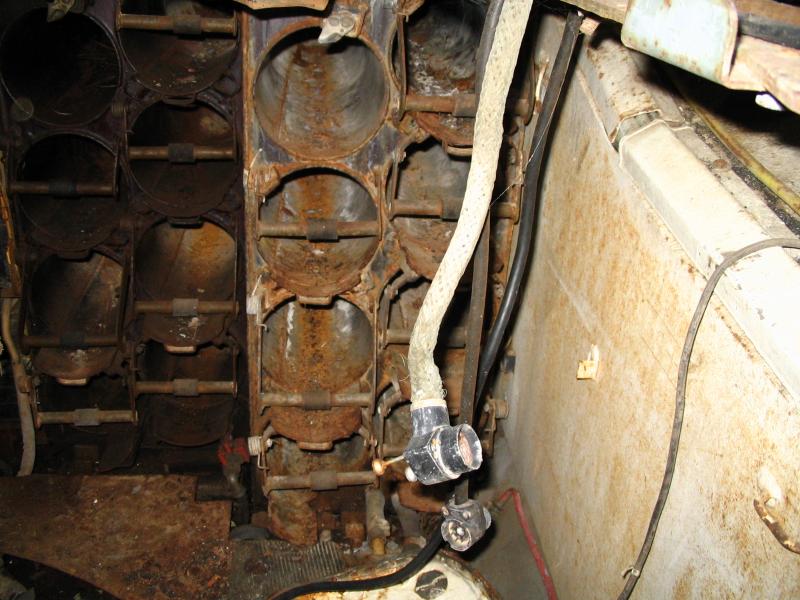
Ammo stowage and some radio cables that are very reminiscent of WW2
allied ones.

|
|
Gunner's position.
|
|
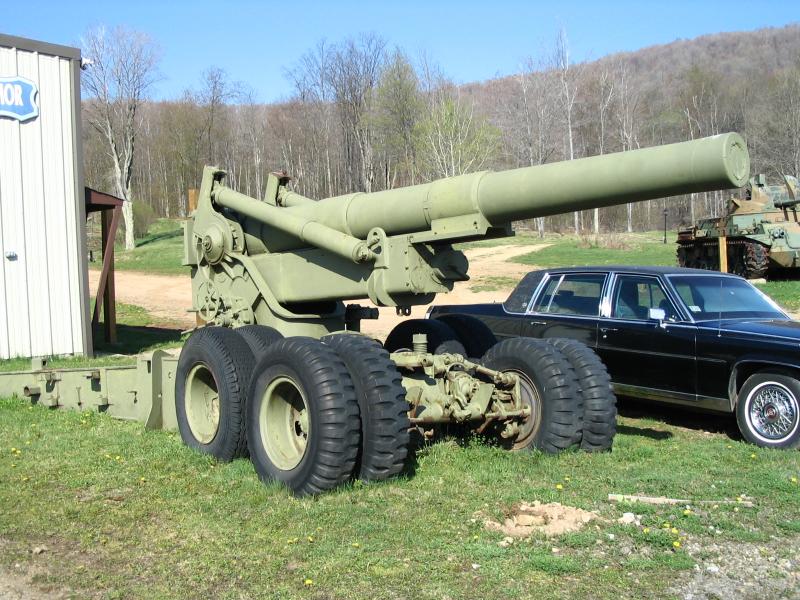
Er, it's a gun, a big gun!
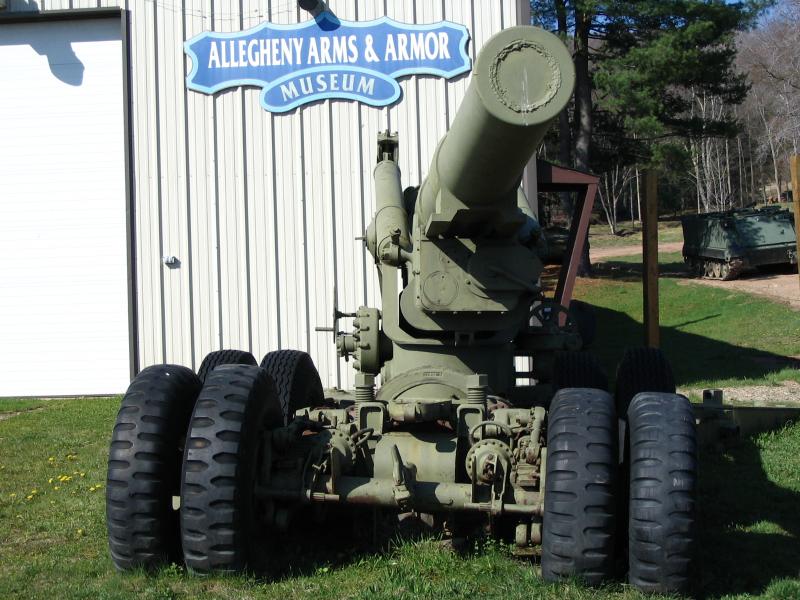
|
|
Yup, it is a big heavy gun.
|
|
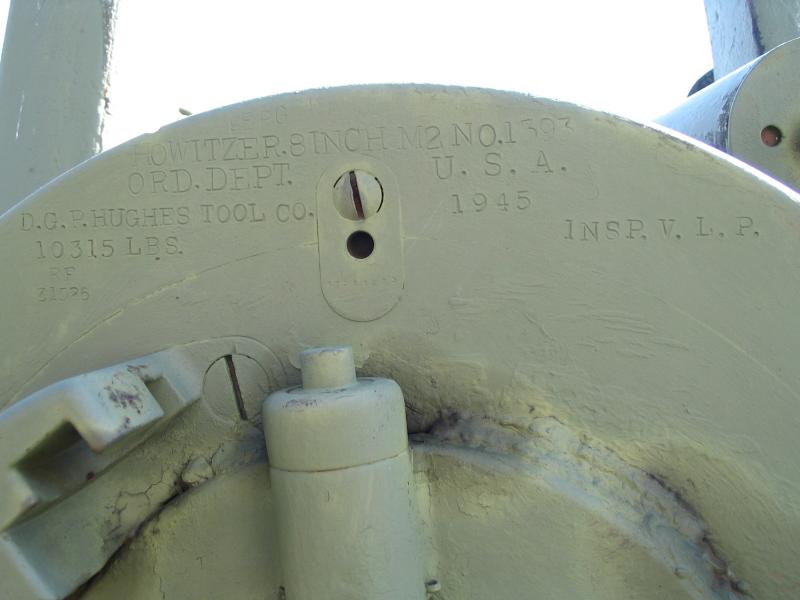
Ah, that helps, it is an M2 8" Howitzer.
|
|
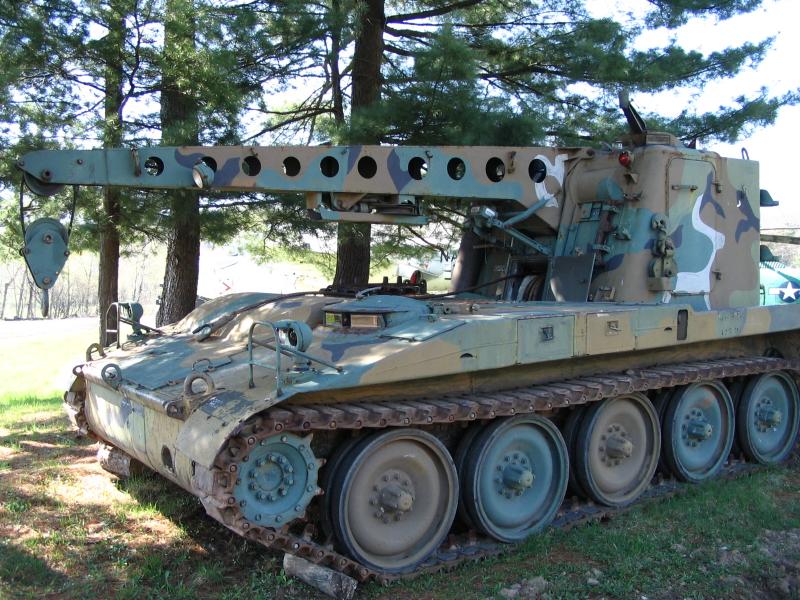
M-578 Combat Engineer Crane.
|
|
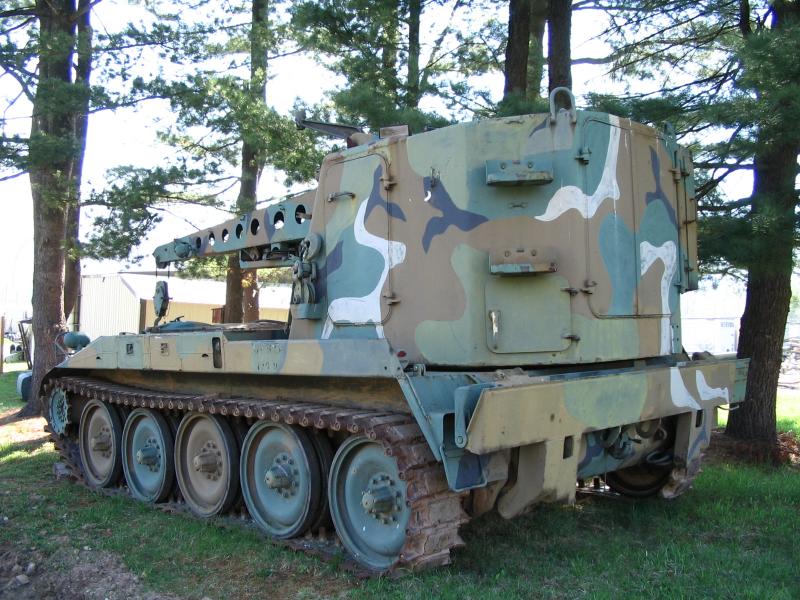
M-578 Combat Engineer Crane.
|
|
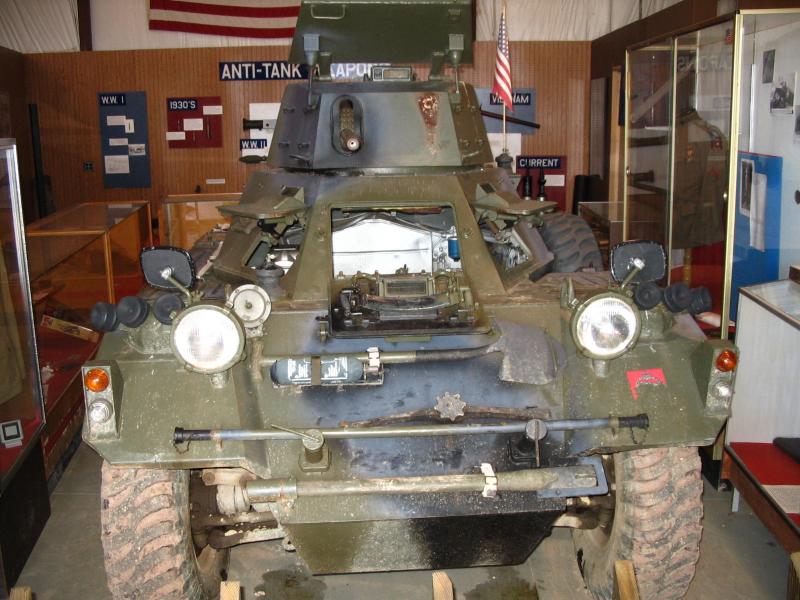
Mk 2 Ferret.
|
|
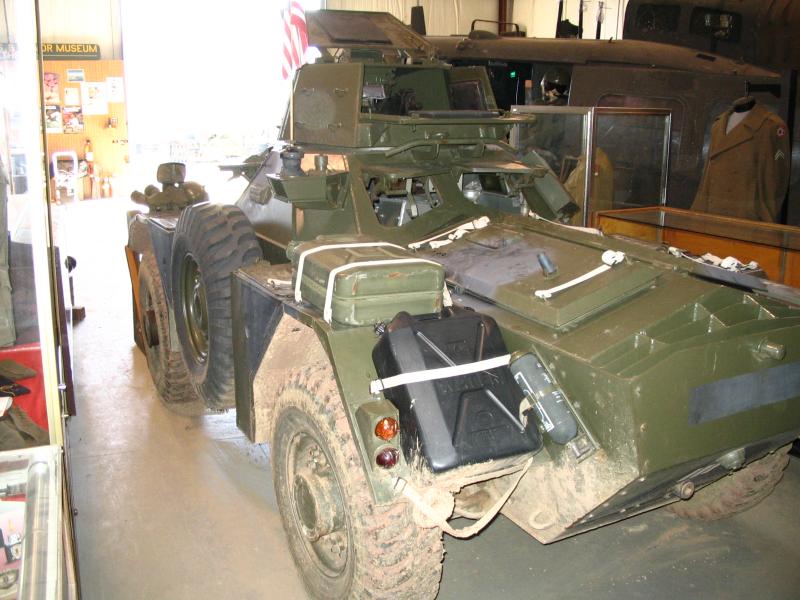
Mk 2 Ferret rear view. Unfortunately the British rego number has been removed from this vehicle. The Ferrets were "restored" by Budge/Lionheart so all the numbers were painted over when the museum got them. The big data tags inside don't match up with the number stamped on the hull on some. One of them is an up-armored 2/3 and another is a 2/3M with the fire suppression equipment.
|
|
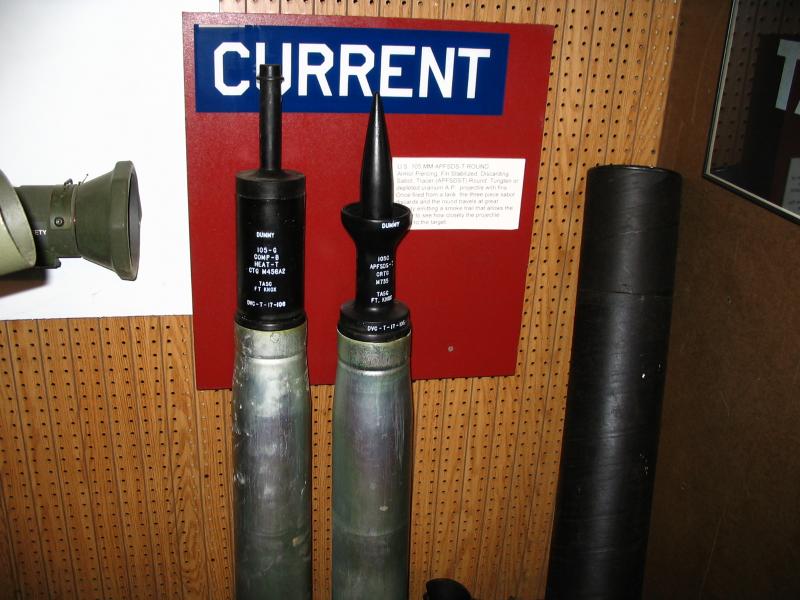
NATO type 105mm Tank ammo. HEAT on the left and SABOT on the right.
My thanks to Vince.

 BACK TO INDEX BACK TO INDEX |